Contact Us

Use the form on the right to contact us.

You can edit the text in this area, and change where the contact form on the right submits to, by entering edit mode using the modes on the bottom right. 


123 Street Avenue, City Town, 99999

(123) 555-6789

email@address.com


You can set your address, phone number, email and site description in the settings tab.
Link to read me page with more information.

CONTENT

FOLK x Eastown LA

Heath Stiltner

A couple of weeks ago, we had a unique opportunity to work on a new project. Our friends at We Came in Peace asked us to partner with them on a project for the Eastown LA apartment complex in Hollywood, CA. With a lot of help from Johnny, Kim, Chris, Andrew and the team we put together a weekend of events that sunny LA rarely sees, a Fall Festival. We kicked off the weekend with a dinner by chef Josef of Ledlow DTLA, a dinner full of friends and fun with a Southern Comfort food inspired menu and gifts supplied by Original Grain watches. The rest of the weekend held special visits and pop-ups from Commissary Coffee and Clyde May's bourbon, as well as a Maker's Market on Sunday. Here's a recap of some of our favorite moments.

Domestic Domestic

Heath Stiltner

This holiday season we've been partnering up with some of our favorite stores and makers to share their stories. The stories of they created their businesses and what owning their own business means to them. When you support a small business you support, a community, a family, and a dream. This week we meet Heather Smith, the owner and creator of Domestic Domestic and get to know her lifestyle brand store.

How was Domestic Domestic created?

Domestic Domestic is my 7th small business start up. Previously, I owned a kitchen shop called Eggshells. As the buyer I began to notice my habits gravitating towards American goods – mainly for their quality. That transition opened my eyes up to the transparency of working with American companies. One company in particular, PK Grills, which is located in Little Rock we credit with the inspiration for this shop. 

Were most of the products in the beginning home goods?

Yes. Clothing and shoes fell into place after discovering so many great brands. 

How do you decide which products to carry from your brands?


It varies from brand to brand. Ethically produced, well designed, lasting heritage, or just plain awesome!

In addition to your heritage brands, how do you find new brands?

Talking with makers and other shops. I am blown away by the open communication we all have in this field. Clearly we all realize the better each does individually the better we all will do. We also attend events such as American Field to make new connections. 

Will/Do you create collaborative products with brands you work with?

Absolutely! We have a few on the floor now and are always looking to team up with other companies. 

What inspires the Domestic Domestic brand?

We are driven by the “quality” lifestyle. There is a satisfaction when you are surrounded by well made things. 

How do your hobbies influence what you carry?

I believe in a well balanced life. There is a time to work hard. There is a time for travel and learning. There is a time for family. And there is a time to relax. Combining all of these creates that well balanced life. Our products are for this lifestyle. 

What has been your biggest lesson?

Still working on this!

What's your favorite thing about supporting American makers?

The results are very immediate!

What's been your best advice you've been given?

Do what you love. I can sell anything. I chose to sell what I believe in.  

What's been your biggest challenge?

Growing too quickly. Sometimes we have to take a step back and refocus. 

To learn more about Heather and Domestic Domestic, follow her on Instagram @domesticdomestic and visit her website at www.domesticdomestic.com.

Tinlid Hat Company

Heath Stiltner

As part of our Christmas American maker series we have been getting to know a few of our favorite brands and partnering with them to tell their stories. This week we are sharing the story of Jon Tuck, the owner and creator of Tinlid Hat Co. I asked him to share in his words a bit about his brand and his journey being a small business owner. Read what he had to say below.

We started Tinlid Hat Company in August of 2014. Initially, we made some hats for us and our friends that said "FROLF" on them because we love to disc golf. We started selling them at our local disc golf course and decided to run with the idea of a hat company. Hats were not something we were that into. Of course, we would wear the occasional cap before Tinlid, but the reason we got started on hats was just to make something other than a t-shirt.

We all sort of pitch in ideas for a design, but I (Jon) do most of the design work. I enjoy the creativity involved and designing the caps are one of my favorite parts of running Tinlid. We found some manufacturers that make our hats. In the future, we hope to be able to buy the machinery and start making them ourselves, but that may be a bit down the road. Most of the ideas for our products come to us while we are in the outdoors. We don't necessarily set aside a specific time to think of new products. We like the ideas to come to us naturally. 

I've always believed in social entrepreneurship. I was interested in this concept at a particularly young age. Over the years, I've read and studied about it, and when Tinlid began, we decided to implement a social cause. We plant 15 trees through Trees for the Future (trees.org) for every product purchased. We believe in preserving and restoring the earth's forest for a number of reasons, one being that we just love to be outside. I love being outside. There is so much to do and so much to discover. Our hobby of disc golfing actually started the whole brand, and we thought of the side strap on the hats for pencils when we were out disc golfing one day. 

I think one of the most important things I've learned since we began is the idea giving efficiently. For example, we used to only plant 1 tree for every product sold, but now we plant 15- for the same cost. It's important to do your due diligence and not just throw money at causes. There is so much to enjoy about running Tinlid. The thing I take the most pride in is giving back. Some customers have gone out of their way to write letters and email us to thank us for our work. It feels amazing knowing we are making a change!

I've been given a lot of advice. It's hard to come up with just one thing. One piece of advice I received from my friend and a mentor was don't be afraid to reach out to people and ask for help. Even if it seems like they'd have no interest or reason to help you, if they like what you're about and you're genuine, they are willing to help. If I could give a piece of advice to anyone, I'd tell them do what you love and find a way to make it impact others. Our biggest challenge was the first 2-3 months without a doubt. We pretty much just stumbled our way through it. I remember one of our first goals was to make just one sale on the website. I think we sold only two hats online during September 2014 so the biggest struggle was just learning how to market the brand. Eventually, we started to figure things out, but we learn more every day.


FOR MORE VISIT: TINLIDCO.COM

Oh Holy Delicious! | Our 5 Fav. Pecan Pie Recipes

Ben Ashby

Christmas is coming! The warmth of the autumn season is quickly fading into the cold joys of the holiday season. With that the woods are scattered with delicious organic-free-range pecans. You could spend hours harvesting the tiny nuggets of delicious only to spend even longer busting those nuts--we mean cracking those nuts, as you prepare to turn them into pie...but who are we kidding...you nor I are Ina Garten...so just go to the store and stock up and lets bake some pies. These are our 5 favorite pecan pie recipes from 5 of our favorite bloggers.

1) Chocolate + Pecan Pie by Living the Gourmet

2) Rich Chocolate Pecan Pie by Crumb Kitchen

Chocolate chunks and crunchy pecans swirl together with a flaky pie crust in this decadent rich chocolate pecan pie.
3) Chocolate Bourbon Pecan Pie by Crumb Kitchen
4) Dark Chocolate Brownie Pecan Pie by Melanie Makes

5) Pecan Custard Pie by Briana Thomas

There you have it! Our 5 favorite pecan recipes for this Christmas season! No Ina needed. Just simple and easy and festive. Always festive.

Make your pecan pie experience Mariah Carey level extra festive by ordering our FOLK coffee. CLICK HERE TO ORDER. Roasted weekly. Mailed Daily. Only 25 bags per week.

FOLK + Harden Family Roasters

Heath Stiltner

We often work with small makers and small businesses to share their stories. To celebrate in their successes and learn from their failures we've started a new series dedicated to the ones. The ones who we built FOLK for, and who helped us build FOLK.

Justin Harden of Campbellsville, KY is the owner of Harden Coffee, a small batch coffee roasters and coffeehouse in the middle of rural central Kentucky. Retiring from a career in construction he started to follow his dreams of working with food and coffee after returning to Campbellsville from Kansas City. When Justin first started roasting coffee, he began roasting the beans in a popcorn popper on his back porch and selling the fresh coffee in his brother-in-law's whole foods market in town. As the popularity of his coffee grew, he and his wife saw an opportunity to make his passion a full time career when they bought and opened Harden Coffee.

Campbellsville, is a small town with a local university, and it's what some would say is the model for the new frontier of America. Justin is doing his part to grow with the community in that frontier town and is doing his part to bring something new and accessible to his hometown by giving people a better look at how their favorite morning brew is produced. Sourcing and roasting his own beans in the back people can come in and experience the process from green coffee beans to cup or bag.

Being able to raise his four children in he and his wife's own hometown while chasing their passion, Justin is truly living authentic and redefining what the American Dream means. Though living in a rural town as small as Campbellsville can sometimes be a challenge, Justin and his wife have worked hard to make their passion a success. This is a look at their business and the life they've created through it.

Early Style Stump Doll

Ben Ashby

Trudy Honeycutt

Crows in the Attic Primitives

Early dolls were made from a variety of materials – fabric, feed sacks, pieces of wood, corn cobs, etc.  Many of these were made by mothers and children, and often took on a very primitive, simple form.

This representation of an early doll was made from stained muslin, and stuffed with fabric scraps, known as rag stuffing.  You will need to cut two pieces of the pattern, which is easily done by tracing once on a double fold of fabric.  Sew on the tracing line, trim to about a ¼” seam allowance, clip all around, and turn right side out. After stuffing and closing the opening I chose to heavily grunge the dolls, bake them in a low heat oven, and then sand them.  I doubt that this step would have been taken in the early days, however!

Although many of the early dolls are faceless, I have seen examples in my research of those that had a simple stitched face as well.  You might try both!  I used two strands of embroidery floss and a long doll needle for stitching the features, starting my stitching in the back where the knot will be covered by the clothing piece.

To stay with the theme of simplicity, I have torn a piece of fabric into a 6” x 12” piece, wrapped it around the body, and then tied it with some black heavy thread.  For the hat I tore a similar piece of fabric, 3” x 7”, and then tied heavy thread around the neck to secure.  For more stability you could tack the hat and the dress to the doll as well.

After dressing your doll, sign and date, and enjoy!!

Untitled-4.jpg


Late Summer Gentleman Farmer Photo Shoot

Ben Ashby

Jennie Love, of Love 'n Fresh Flowers, fills us in on this richly-hued, earthy wedding inspiration shoot:As someone who works the land every day, I feel deeply connected to the seasons and to the heritage of farming.  When I started brainstorming with the talented ladies at Love Me Do Photography on a photo shoot, we were all immediately drawn to the idea of celebrating the richness of a full harvest in an intimate setting ripe with agrarian history.  We wanted to highlight the natural beauty of the late summer season's flowers, fruits, and vegetables.  Everything in the shoot was locally sourced, including the flowers grown at our own flower farm, just a few miles away.  

Wyck, the venue, was the absolute perfect fit for our vision, and it inspired so much of this shoot.  Located in the Germantown section of Philadelphia, Wyck is the ancestral home of the Wistar-Haines family, colonists who helped build Philadelphia when they settled here in 1690.  The home and property remained in the same family until 1973 when it went into a trust and became a National Historical Landmark.  Today, it's beautiful garden, house, and small urban farm are open to the public for exploring, including the original glass greenhouse that was likely one of the very first to ever be built in colonial America and the oldest rose garden in America still growing in its original foot-print.  Wyck is a truly remarkable place.  When it was first built, it was in wide-open rolling hills, the country estate for its Quaker owners who traveled to and from the city of Philadelphia by horse and carriage.  Today, swallowed up by Philadelphia as it expanded over the centuries, Wyck is now a petite 2.5 acre green oasis in a tattered urban neighborhood.  Step inside its gates and one immediately escapes the dull roar of buses to hear bees from the farm's hives buzzing around instead. 

Our models for the shoot are a real-life couple deeply in love, and it was a pleasure to watch them giggle and blush together throughout the summer afternoon. We had them "marry" under the 250 year old Concord grape arbor beside the house, which was heady with the fragrance of ripening grapes.  The foodie-inspired bridal bouquet was quirky and fun with a mix of dahlias, zinnias, air plants, blackberries, raspberries, mint, sage, and garlic.  Yes, garlic!  The boutonniere included succulents, blackberries, gomphrena and celosia.

The celebratory farm feast that followed was set-up in the rose garden.  The handmade rustic farm table and antique chairs were provided by Maggpie Vintage Rentals. Birchtree Catering designed a scrumptious rustic late summer menu that was inspired by the colors and tastes of heirloom tomatoes.  The table was decked out with a lush sprawling centerpiece of zinnias, dahlias, kale, sage, hydrangea, peppers, eggplants, and tomatoes.  More heirloom tomatoes were placed down the center of the table and each place setting got its own garnish of either an adorable baby eggplant or string of green baby tomatoes.

We made one of my favorites, a Blackberry Shrub, for cocktails.  A shurb is a tart drinking vinegar that was popular in Wyck’s heyday as a way to preserve fruit for consumption throughout the year.  Today shrubs are an excellent mixer for cocktails and super easy to make. We served a "cheese cake", literally a stack of locally-sourced cheese rounds in lieu of traditional cake and a great idea for less traditional couples who love savory more than sweet. 

All in all, this shoot felt so natural and joyous, especially when we all sat down at the end to enjoy a delicious meal together in the late summer twilight.  A last hurrah for summer! And the perfect inspiration for an intimate farm or backyard wedding. 

Wyck is available to rent for weddings and other special events. 

Vendor Credits:

photography: Love Me Do Photography //   venue: Wyck House in Philadelphia, Pa //  florals & styling: Love 'n Fresh Flowers //  food: Birchtree Catering // dress: Free People // bow tie: Forage  // rentals: Maggpie Vintage  //  paper goods: Loveleigh Invitations //  hairpiece:  Lovely Bridal


Great North Collection

Ben Ashby

hroughout this Winter Issue there is a collection of astounding images of the beautiful natural landscape of our Northern neighbor, Canada. All of these images have been collected and created by a group of traveling creatives and photographers called Great North Collective. We asked two of the chief members of the group to share with us a little about the history of the group and their effort.

David Guenther of Rowan Jane Photography was one of the founding members of Great North Collective, the group of photographers and other creative individuals who are capturing the landscapes of wild and natural Canada and creating a portfolio of it online and through Instagram. David says he first had the idea a couple years before he started his adventures, but it was something that had to start at the right time with the right people.

He found the Collective in a group of old friends, wedding clients, and new friends and began his adventures after discovering their amazing work on Instagram. “Ryan is a good friend is always up for a bit of adventure,” Guenther says, “so that just made sense. Chris was a wedding client of mine, and Mike was his groomsman, so after that I kept up with them online and connected with their landscapes.” Using their existing adventures, and combining it with his own idea, Great North Collective was born.

Dave started Instagramming landscapes and documenting the Canadian terrain about a year and a half ago. “I travel around a lot for my work as a photographer,” he says, “so Instagram was just a good way to keep creative and document these beautiful places I was going.” The typical photo trip for the Collective is usually a random drive in a certain direction, the group has a region in mind and they drive there documenting their adventures and resting moment to moment. “While we'd like to be roughing it a bit,” David jokes, “it's tough to camp in the Canadian Rockies in winter with camera gear. So in that case it's hotels or B&Bs.” Aside from taking photos of each other, the Collective just enjoys their time together exploring, driving, walking or hiking. “It's nothing too extreme, but we just try to see as much as we can while we're out there,” he says.

David’s favorite adventure with Great North Collective so far has been a wedding on Vancouver Island last year and he shot with his family joining him. “We spent a week just exploring and relaxing,” he says. “I get to shoot a lot in the Rockies, but it felt different on the Island with my wife and girls with me.” The group's goal is to shoot every part of Canada, but David says he would most like to go to the Yukon and the Maritimes. “This country is so massive and beautiful,” he laughs, “I just want to see it all.” For now, Great North Collective is taking every opportunity they can to document the landscape of Canada and bring together a solid group of photographers, and an inspiring collection of images. “Beyond that, we've got a few other plans in the works, but we'll see where this wild journey takes us all.”

David Guenther - Rowan Jane Photography - www.rowanjane.com - www.rowanjaneblog.com

Ernest Alexander

Ben Ashby

After going to grad school and studying business for 3 years, Ernest Sabine found himself in the middle of the recession and the fashion district in New York City. The stock market had just recently crashed and for Ernie it seemed like the perfect time to build something from nothing. Having worked in fashion advertising for several years, Ernie learned the ins and outs of the fashion industry and with a childhood dream he set out to create the perfect men's messenger bag. "I always dreamed of having my own clothing line as a kid," he says, "I always wanted to have my own business."

When Ernie began Ernest Alexander he explored the fashion district for a workshop that was able to produce canvas messenger bags. He often carried one for business each day and always wished he could have one that perfectly matched his body in motion and at rest. After finding a workshop only two blocks from his office he started sourcing materials for his first collection of messengers. "I started with one style and three colors when I made my first messenger bag," he laughs.

With the help of twelve very talented seamstresses, Ernie went to work perfecting his first design. "I would design prototypes and test them out for the day. I want my bags to look as fashionable and feel as comfortable and natural while walking and running through the city." With his first design perfected and with three colors available he sold his first 20 bag order, though the power of social media and e-commerce quickly changed that.

When Ernie first started his brand he wanted it to be something could feel proud of. He was tired of foreign manufacturing and unfair wages and living conditions for the foreign laborers. Finding the small garment district in New York City to manufacture his bags and accessories was his way of remedying that problem. With his growing popularity and demand for more products, Ernie has not only been able to support the twelve seamstresses who first helped in creating Ernest Alexander, but has also expanded that workshop and created jobs for new workers.

"I wanted to create a brand with heart and meaning, I wanted to know the people who were making products for me. I wanted to stay close to them and be able to visit any time so that I could stay involved in every step of the process." Today he works, manufactures, and sells his bags within a five mile radius, with his flagship store in Soho on Thompson Street only 20 blocks from his workshop. "Opening the store allowed me to not only get into a shopping area that I'd helping grow my brand, but also allowed me to meet my customers face-to-face." With a growing collection of items to offer including men's shirts, bags, accessories, and a small capsule of women's clothing Ernie is slowly growing his brand which started with one messenger bag into a full outfitter. "I want to be able to offer more to my customers and I think the next step will be denim, knits and sweaters, and tailored clothing and suiting," says Ernie.

Ernie says that the city has played the biggest role in inspiring him to create his clothing brand. "When I need inspiration I go straight to the streets of New York City," he explains. "With so many colors, textures, and personalities the people of New York have their own style, and it inspires me to find new and interesting fabrics and patterns when I source my materials." He also finds inspiration in antiques and often shops at a local antique store called Olde Good things for decor for his store and inspiration for his brand. "My brand focuses on a return to basics with a modern look at vintage fashion, so visiting antique stores helps me focus on those ideas of classic silhouettes and references to the past."

When asked what we could expect to see from Ernest Alexander for the holiday season, Ernie listed a few giftable items that will be out just in time for the holidays. Starting this winter he will offer an apron designed for cooks and blacksmiths alike. Inspired by the aprons of craftsmen, it will feature pockets for tools and is constructed of the same high-quality canvas he uses for his bags. Plaid will be a major focus for the brand this year with a line of weekenders, messengers, and other bags made of classic British woolen plaids and Ernie will also offer plaid neckwear to match.

With workman inspired clothing, a line of utilitarian bags that focus on functionality and style, and classic accessories Ernest Alexander is reviving the American fashion industry. Keeping his focus on the importance of domestic manufacturing and a respect for the history of fashion, Ernie has created a brand that is as classic as it is fresh and modern. "A respect for history and the past has always been important to me, I think it is what fuels this industry and I want to make sure that the people who have worked to keep manufacturing alive here in New York City are recognized."

Made South 2015

Ben Ashby

This weekend our friends Chris and Kimberly—the owners of Made South, a box subscription for Southern-made goods—decided to bring their brand to life and to the natives of their Nashville home by hosting a gathering with some of their favorite makers. Bringing makers from all of the southern states, Made South was a weekend of camaraderie, food, music, and fun. 

From candles to canoes, if there's something handcrafted you're looking for, it could have been found there. Some of our favorite makers were there, including Great Bear Wax Co., Everyday Eclectic, Gents, Kentucky for Kentucky, and Loyal Stricklin. Here's a recap of some of our favorite artists, events, and people from the Made South. Until next time!

FOLK Valentine's Day

Ben Ashby

Valentine’s day...it seems to be that one little holiday that everyone either loves or well...doesn’t. While I do enjoy Valentine’s day, I’ll admit it can be a bit silly and sometimes it causes people to go over board buying boxes of expensive chocolates, big bouquets of red roses, giant teddy bears and maybe even diamonds, all to show someone you love them. Me? Well, that’s not my thing. Do we really need all those costly, fancy things to tell someone how much they mean to us? And while we’re on the subject, why can’t we make that same effort everyday to show the love we have for each other- minus all the stuff of course? Someone once told me they were committed to living Valentine’s day year-round. Not only because they like the colors pink and red so much (go figure), but because they want to feel that same amount of love everyday and always tell their friends and family how important they are to them. Imagine how wonderful it would be to live in a world like that, where everyone can put our differences aside and constantly show each other love and kindness. 

This brings me to the second (and totally less serious) reason why I enjoy Valentine’s day so much, the sweets! I could never bake enough red velvet and chocolate-y desserts. My sweet tooth really kicks in this time of year but in all honesty, to me, food is love. Maybe a lot of that has to do with being Italian and Greek and it’s instilled in us at an early age, but also there is something so fulfilling to me about spending time in the kitchen baking for my loved ones and being able to give them something I made with my own hands. From my kitchen to yours, I am sharing my 4 favorite Valentine’s day recipes that bring pure joy to my heart to be able to share with my dear family and friends on February 14th. What do you bake for the ones you love?

Recipes:

For little kids and pink lovers alike, this pink velvet cake with white chocolate ganache is the perfect Valentine’s day treat. Let’s be honest, does it get anymore fun than pink cake? If you’re making your cake in a heart shaped pan you may have leftover batter depending on the size, so feel free to use it to make a few cupcakes as well.

Pink Velvet Cake

1 cup butter, softened

1 1/4 cups sugar

1/8 teaspoon pink paste food coloring

3 eggs

1 teaspoon vanilla extract

2 1/2 cups all-purpose flour

1 1/2 teaspoons baking powder

1/4 teaspoon baking soda

1/4 teaspoon salt

1 cup buttermilk

White Chocolate Ganache

2 cups white baking chips

1/2 cup heavy cream

1 Tablespoon butter

In a large bowl, cream the butter, sugar and food coloring until light and fluffy. Add eggs, one at a time, beating well after each addition. Beat in vanilla. Combine the flour, baking powder, baking soda and salt in a medium sized bowl; add to creamed mixture alternately with buttermilk, beating well after each addition.

Fill greased, medium sized heart shaped pan or paper-lined muffin cups two-thirds full. For cake, bake at 350 degrees F for 30-35 minutes (this is for a medium sized heart shaped cake pan, adjust baking time based on size, bake until a toothpick inserted near the center comes out clean). For cupcakes, bake at 350 degrees F for 23-27 minutes or until a toothpick inserted near the center comes out clean. Cool for 10 minutes before removing from pans to wire racks to cool completely.

Meanwhile, place the white chips in a small bowl. In a small saucepan, bring cream just to a boil. Pour over chips; whisk until smooth. Stir in butter. Transfer to a large bowl. Chill for 30 minutes, stirring once.

Beat on high speed for 2-3 minutes or until soft peaks form and frosting is light and fluffy. Frost cake/cupcakes. Store in refrigerator.

Being that red velvet is one of my all time favorite desserts, these sinfully delicious chocolate-filled red velvet cupcakes topped with cream cheese frosting can always be found somewhere in the kitchen this time of year. Grab one and prepare to indulge!

Chocolate-Filled Red Velvet Cupcakes

1 cup milk chocolate pieces

1/4 cup heavy cream

1/4 cup plus 1 Tablespoon butter

1 egg

1 cup all-purpose flour

2 teaspoons unsweetened cocoa powder

3/4 cup sugar

2 teaspoons red food coloring

1/2 teaspoon vanilla

1/2 cup buttermilk

1/2 teaspoon baking soda

1/2 teaspoon white vinegar

For filling, in small saucepan combine chocolate pieces, cream and 1 Tablespoon butter. Stir over low heat until chocolate is melted. Transfer to small bowl; cool for 15 minutes, stirring occasionally. Cover and freeze about one hour, until fudge-like consistency. Divide into 12 portions and working quickly with hands, roll each portion into a ball. Place in freezer. Preheat oven to 375 degrees F. Line a muffin pan with 12 paper bake cups. In a small bowl stir together flour, cocoa powder and 1/4 teaspoon salt; set aside. In a medium mixing bowl beat the 1/4 cup softened butter with mixer on medium to high for 30 seconds. Gradually add sugar; beat on medium until combined. Beat on medium 2 minutes more, scraping side of bowl occasionally. Beat in egg, food coloring and vanilla. Alternately add flour mixture and buttermilk, beating on low until combined. In a small bowl combine baking soda and vinegar; stir into batter. Divide half of the batter among the cups. Place a ball of filling on batter in center of each cup and spoon remaining batter into cups. Bake 15-18 minutes or until tops spring back when lightly touched. Remove and cool 10 minutes. Serve warm or cool completely and top with cream cheese frosting. Makes 12 cupcakes.

Cream Cheese Frosting

8 ounces cream cheese, room temperature

8 Tablespoons (1 stick) unsalted butter, cut into pieces and room temperature.

1 cup confectioner’s sugar

1 teaspoon pure vanilla extract

Place cream cheese in a medium mixing bowl. Using a rubber spatula, soften cream cheese. Gradually add butter and continue beating until smooth and well blended. Sift in confectioner’s sugar and continue beating until smooth. Add vanilla and stir to combine. Yields about 2 cups.

I’ve been so blessed to grow up with such a wonderful, talented and supportive family. My father went to the Culinary Institute of America and over the years I’ve enjoyed learning as much as I can from his knowledge of food to help me in my own career. This recipe for chocolate mousse was one he learned from a charcuterie chef when he was in school (strange, right?!). He then taught me how to make this incredibly decadent and in my opinion, best chocolate mousse ever. I’ve watched my father make this recipe by hand numerous times. Imagine the arm strength required to whip that cream and those egg whites by hand...amazing. I had to cheat and use a mixer but still, this one is for you Dad, I love you!  

Chocolate Mousse

9 ounces unsweetened chocolate

9 ounces sugar

9 egg yolks

9 egg whites

1/2 cup water

1 quart heavy cream

Melt chocolate in a double boiler and keep hot in the corner of the stove. Separate eggs and yolks and put each in its own bowl. Whip the heavy cream until it’s stiff (peaks and stays) and chill in a stainless steel bowl. Mix the water and sugar in a small sauce pan and cook to the thread. Start whipping the egg whites until stiff. While they’re whipping, when the sugar mixture is complete pour it over the egg yolks and whip immediately until it starts to foam bubbles. Pour the hot, melted chocolate over the yolk and sugar mixture and with a spatula, gently fold them together until well mixed. Do not whip. With a spatula, fold the stiff egg whites into this mixture. Do not whip. Gently fold in the whipped cream with a spatula, until the color is uniform. Again, be careful not to whip. Put in cups and refrigerate before serving.

Top your chocolate mousse with some beautiful, frosted fruit for a pretty, wintery garnish that you can eat!

Frosted Fruit

2 teaspoons dried egg whites

1-2 packages of your desired fruit (I used raspberries and strawberries)

2 Tablespoons warm water

Superfine sugar

In a medium sized bowl, whisk the dried egg whites and warm water with a balloon whisk until foamy. Line a cookie sheet with parchment paper and place the washed and dried fruit on it. Using a pastry brush, brush the egg whites over the fruit, covering them evenly and completely. Sprinkle the superfine sugar over the berries and cover completely. Let the fruit dry for at least a couple hours until the sugar has hardened and becomes crisp.

Breakfast in bed. Ok, it’s kind of a cliche Valentine’s day tradition, but come on, who doesn’t love breakfast in bed! This simple pancake recipe is the perfect ‘breakfast in bed food’. Mixing cinnamon and chocolate chips into your batter spices them up and adds a touch of romance while making it easier then ever to surprise your loved ones with something homemade on Valentine’s day.

Cinnamon Chocolate Chip Pancakes

2 cups pancake mix

1 teaspoon ground cinnamon

2 eggs, beaten

1 cup milk

2 tablespoons vegetable oil

1 teaspoon pure vanilla extract

1/2 cup chocolate chips

Stir pancake mix and cinnamon in large bowl until well blended. Stir in eggs, milk, oil and vanilla just until blended. Add in chocolate chips. Pour 1/4 cup of batter per pancake onto preheated lightly greased griddle or skillet. Cook 1 to 2 minutes per side or until golden brown, turning when pancakes begin to bubble. Serve pancakes with syrup or fresh fruit if desired.

Bradley Mountain

Ben Ashby

I felt dirt and leaves between my toes as my feet sank into three years’ worth of caked pine needles. I was under attack and disaster boomed in every direction. Diving back behind the tree that resembled a giant slingshot, I screamed, “Jeremiah, DUCK! The Storm Troopers! They're right above you!” 

That's a typical scene from my summers as a pre-teen in Ventura. One of those summers I crafted my first trap using braided vines, a young birch tree (which I used as the fulcrum), and a large hacked off log for the counter-weight. This trap effectively stopped Dark Vader many a time.

Our zeal at the Bradley Mountain workshop originates from two places: a love for adventure and a love for craft.  As I work on the development of a new leather piece my subconscious flows in and out with memories of the days I spent running through the pine needles.

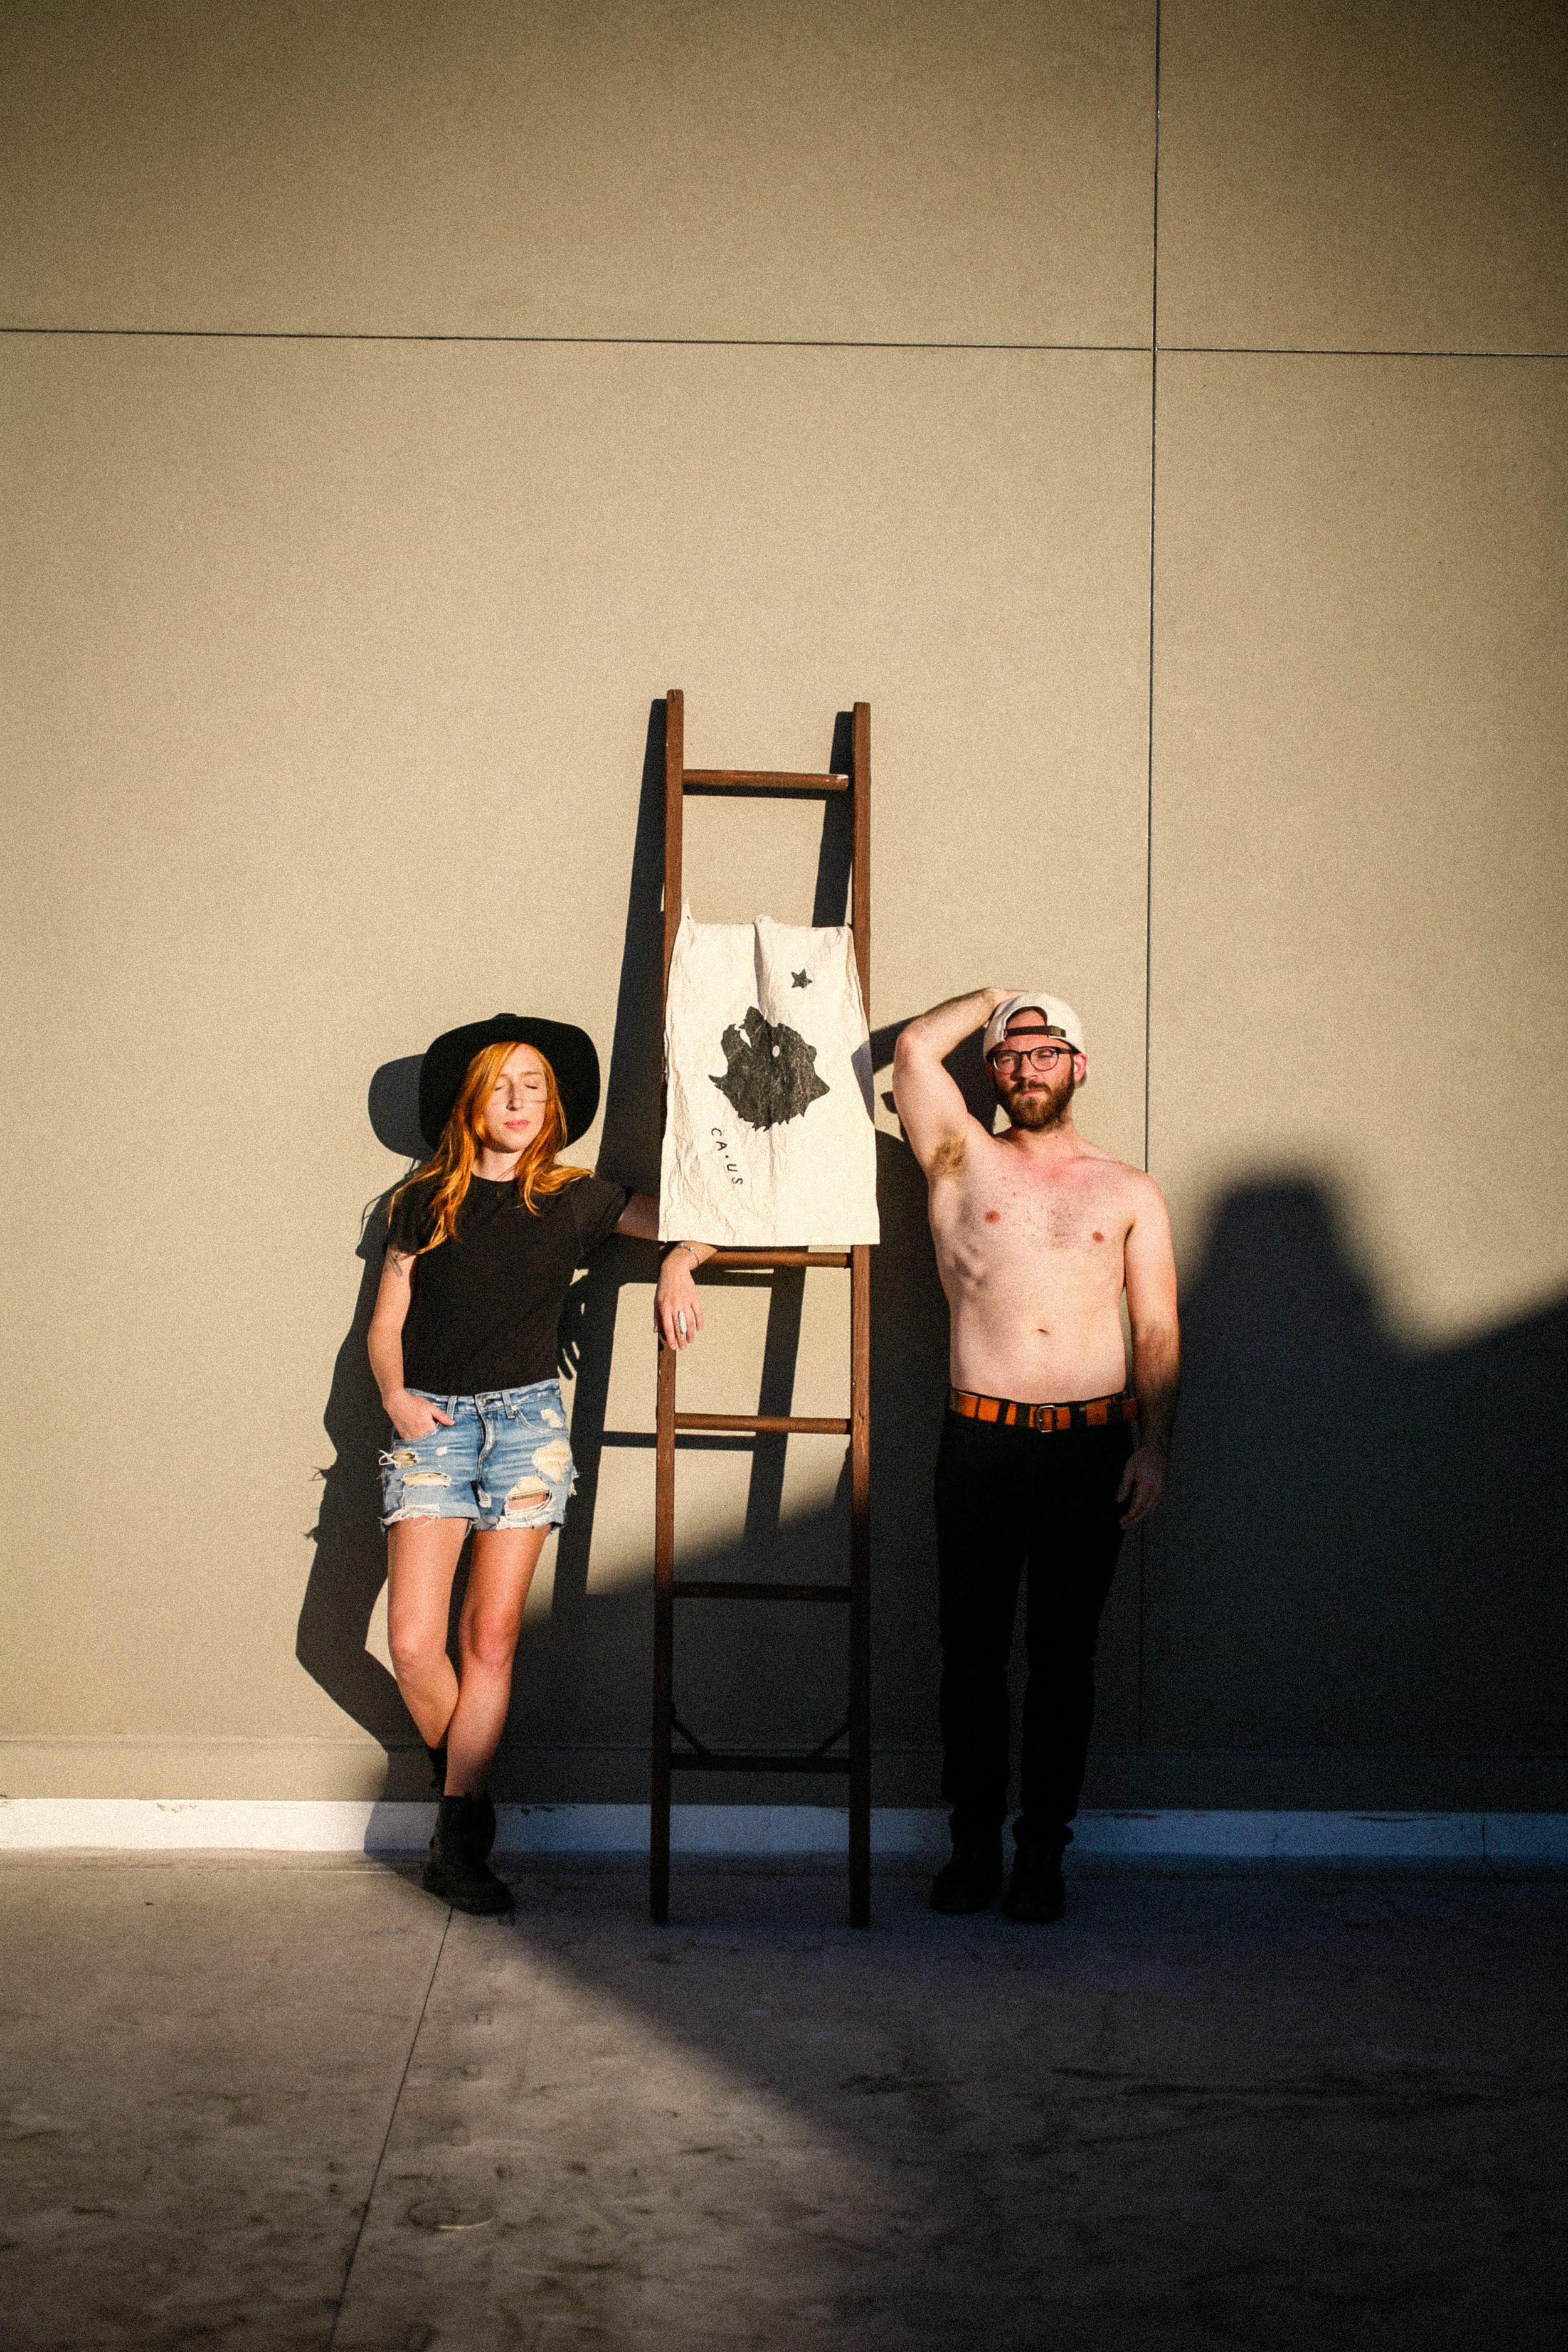
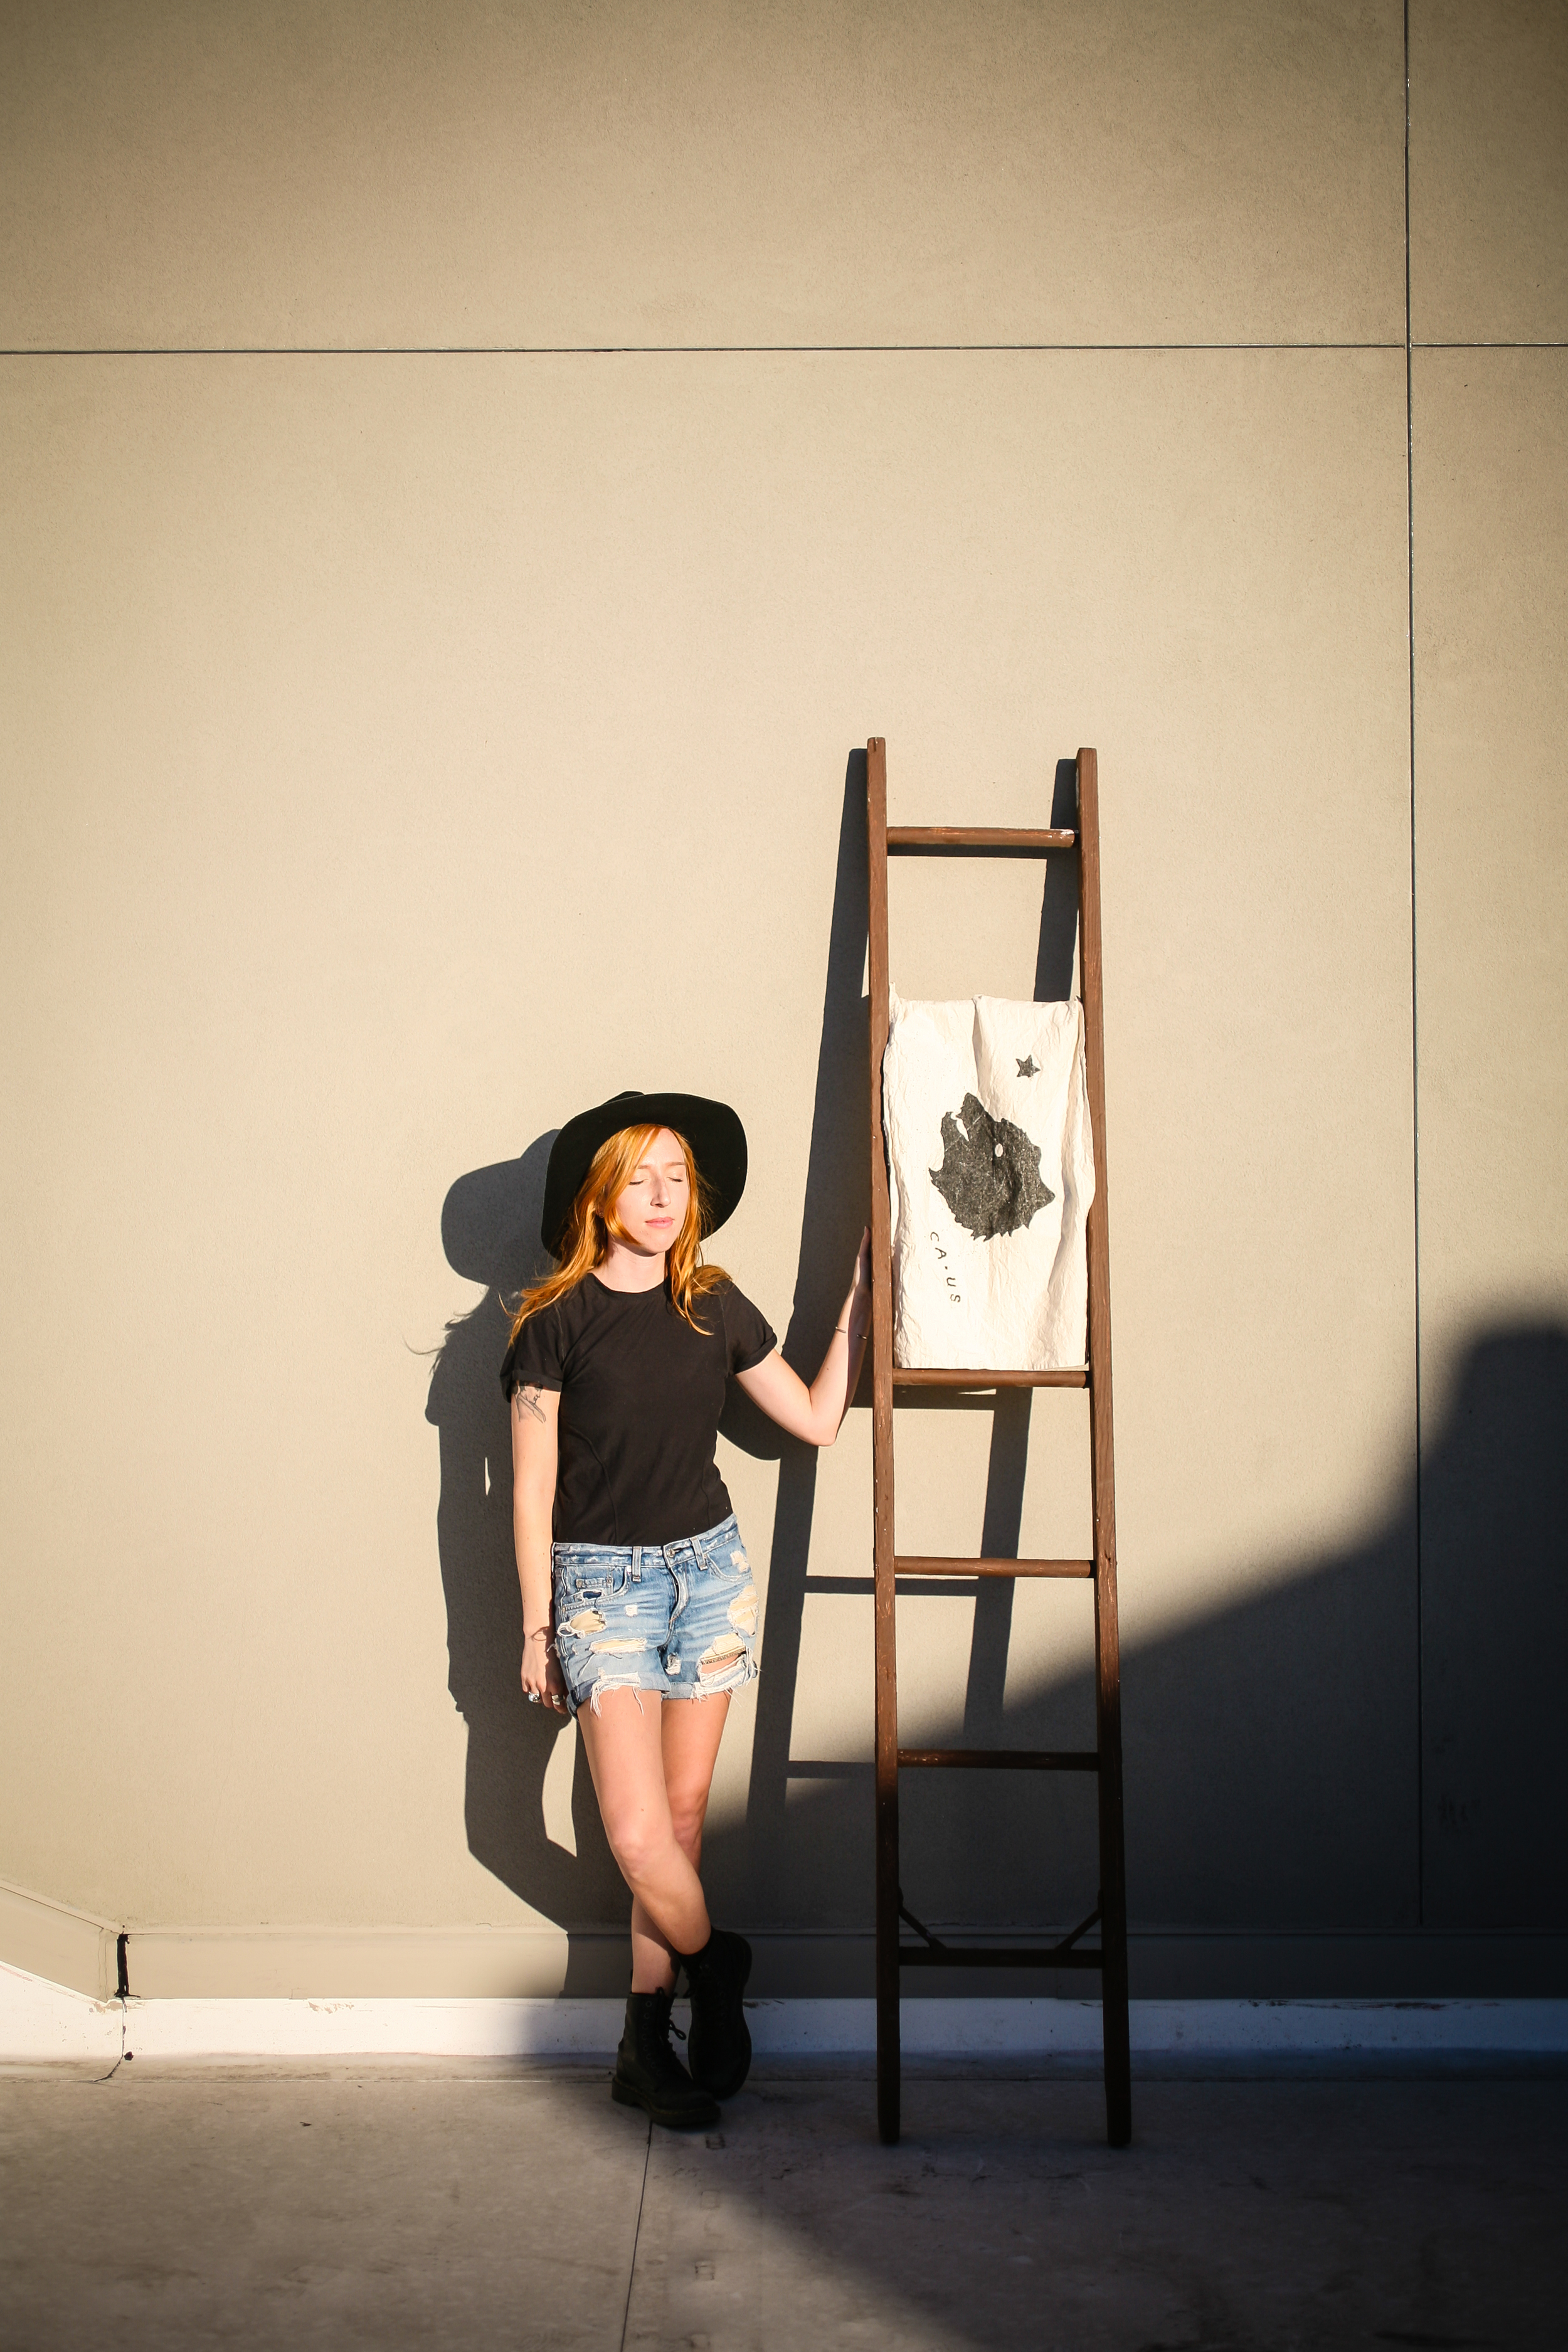
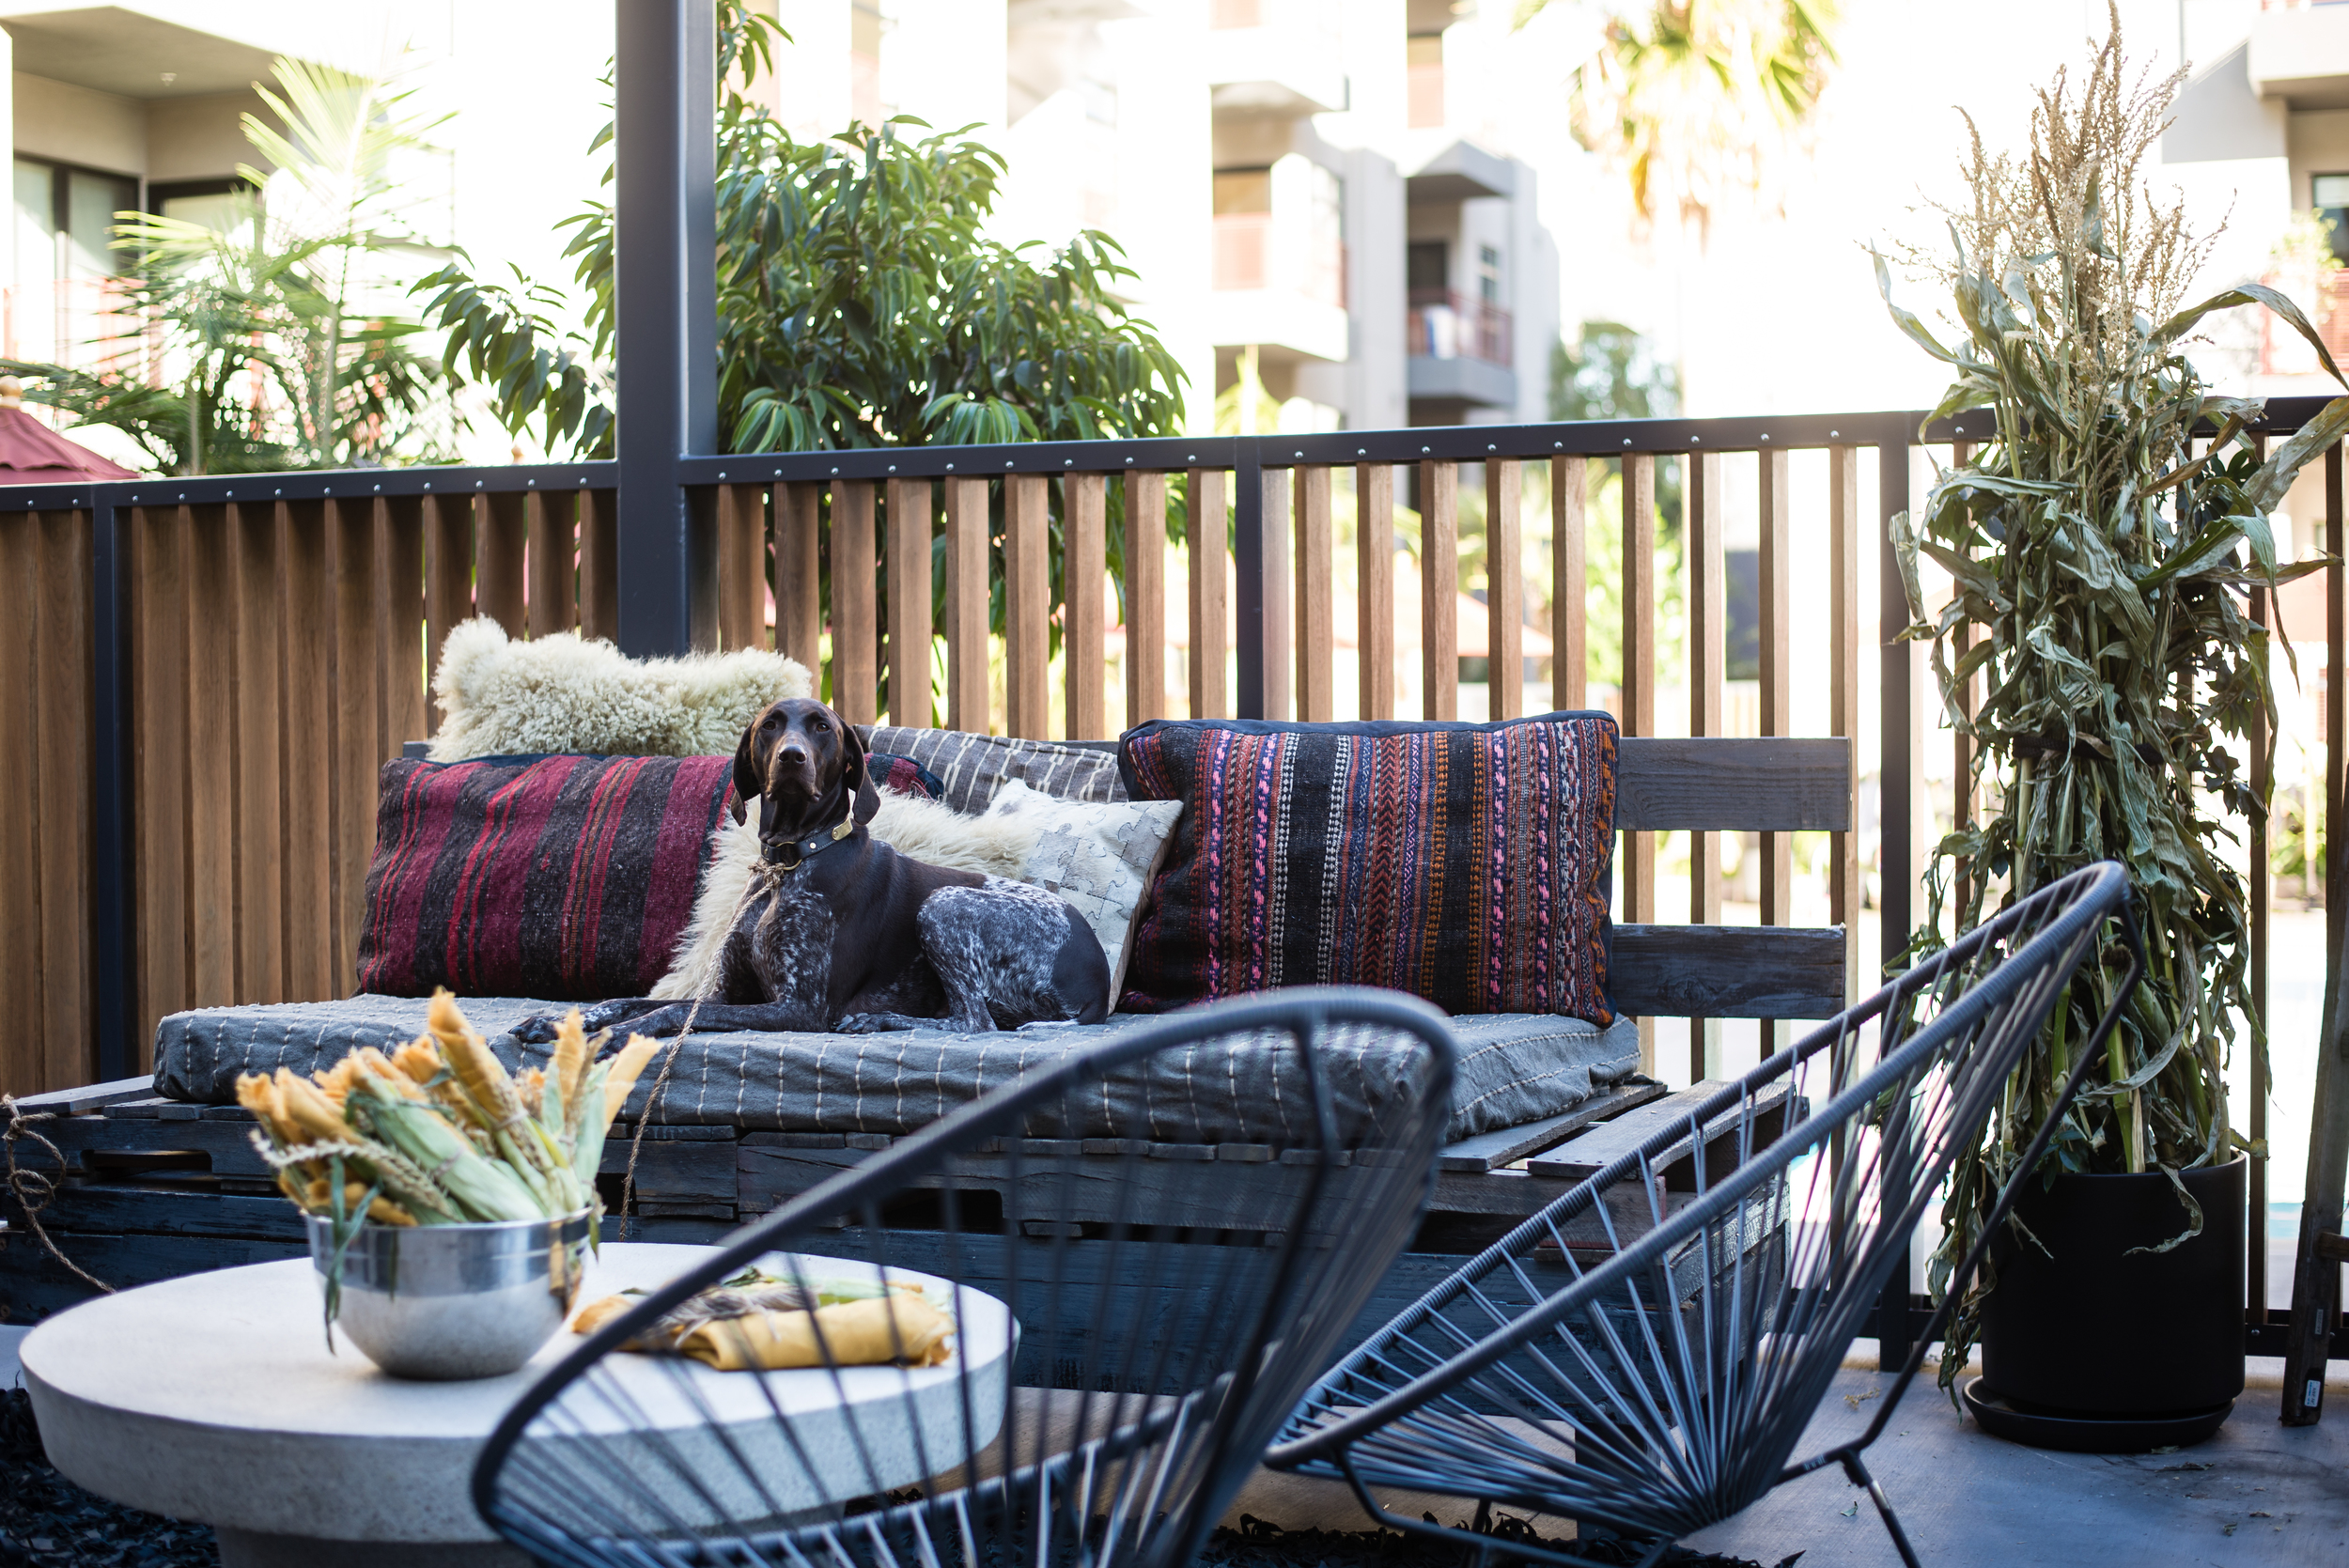
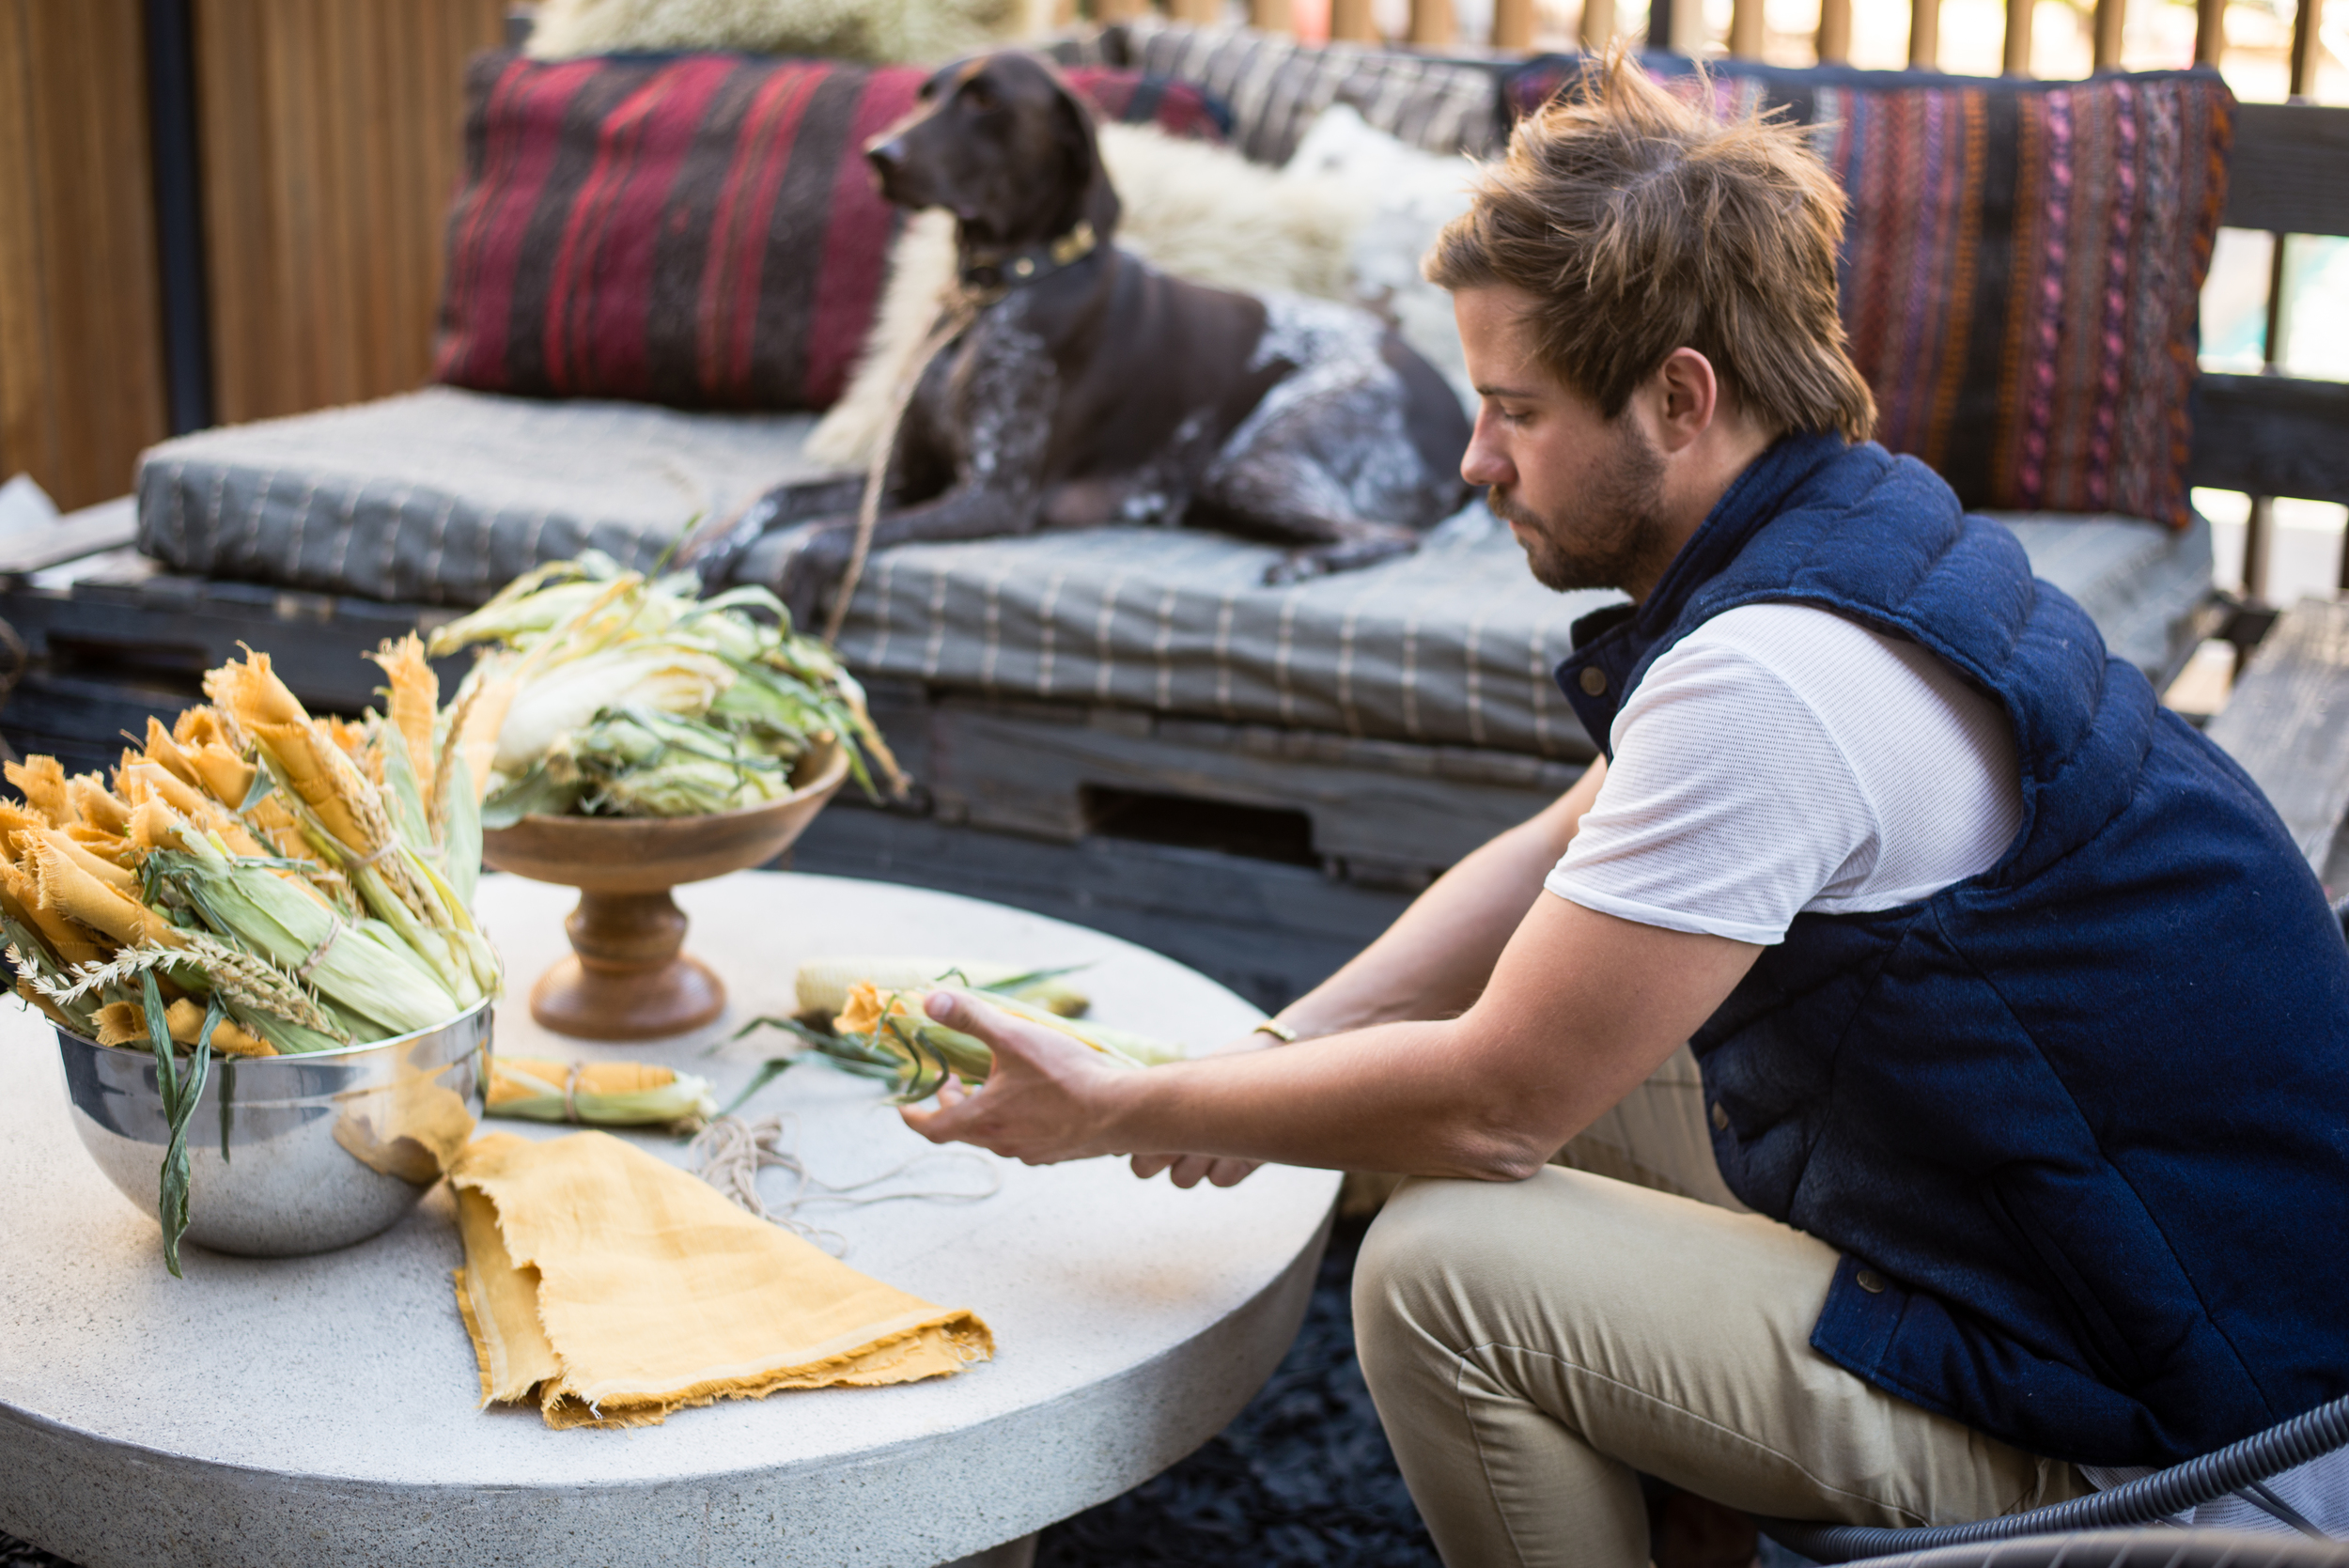
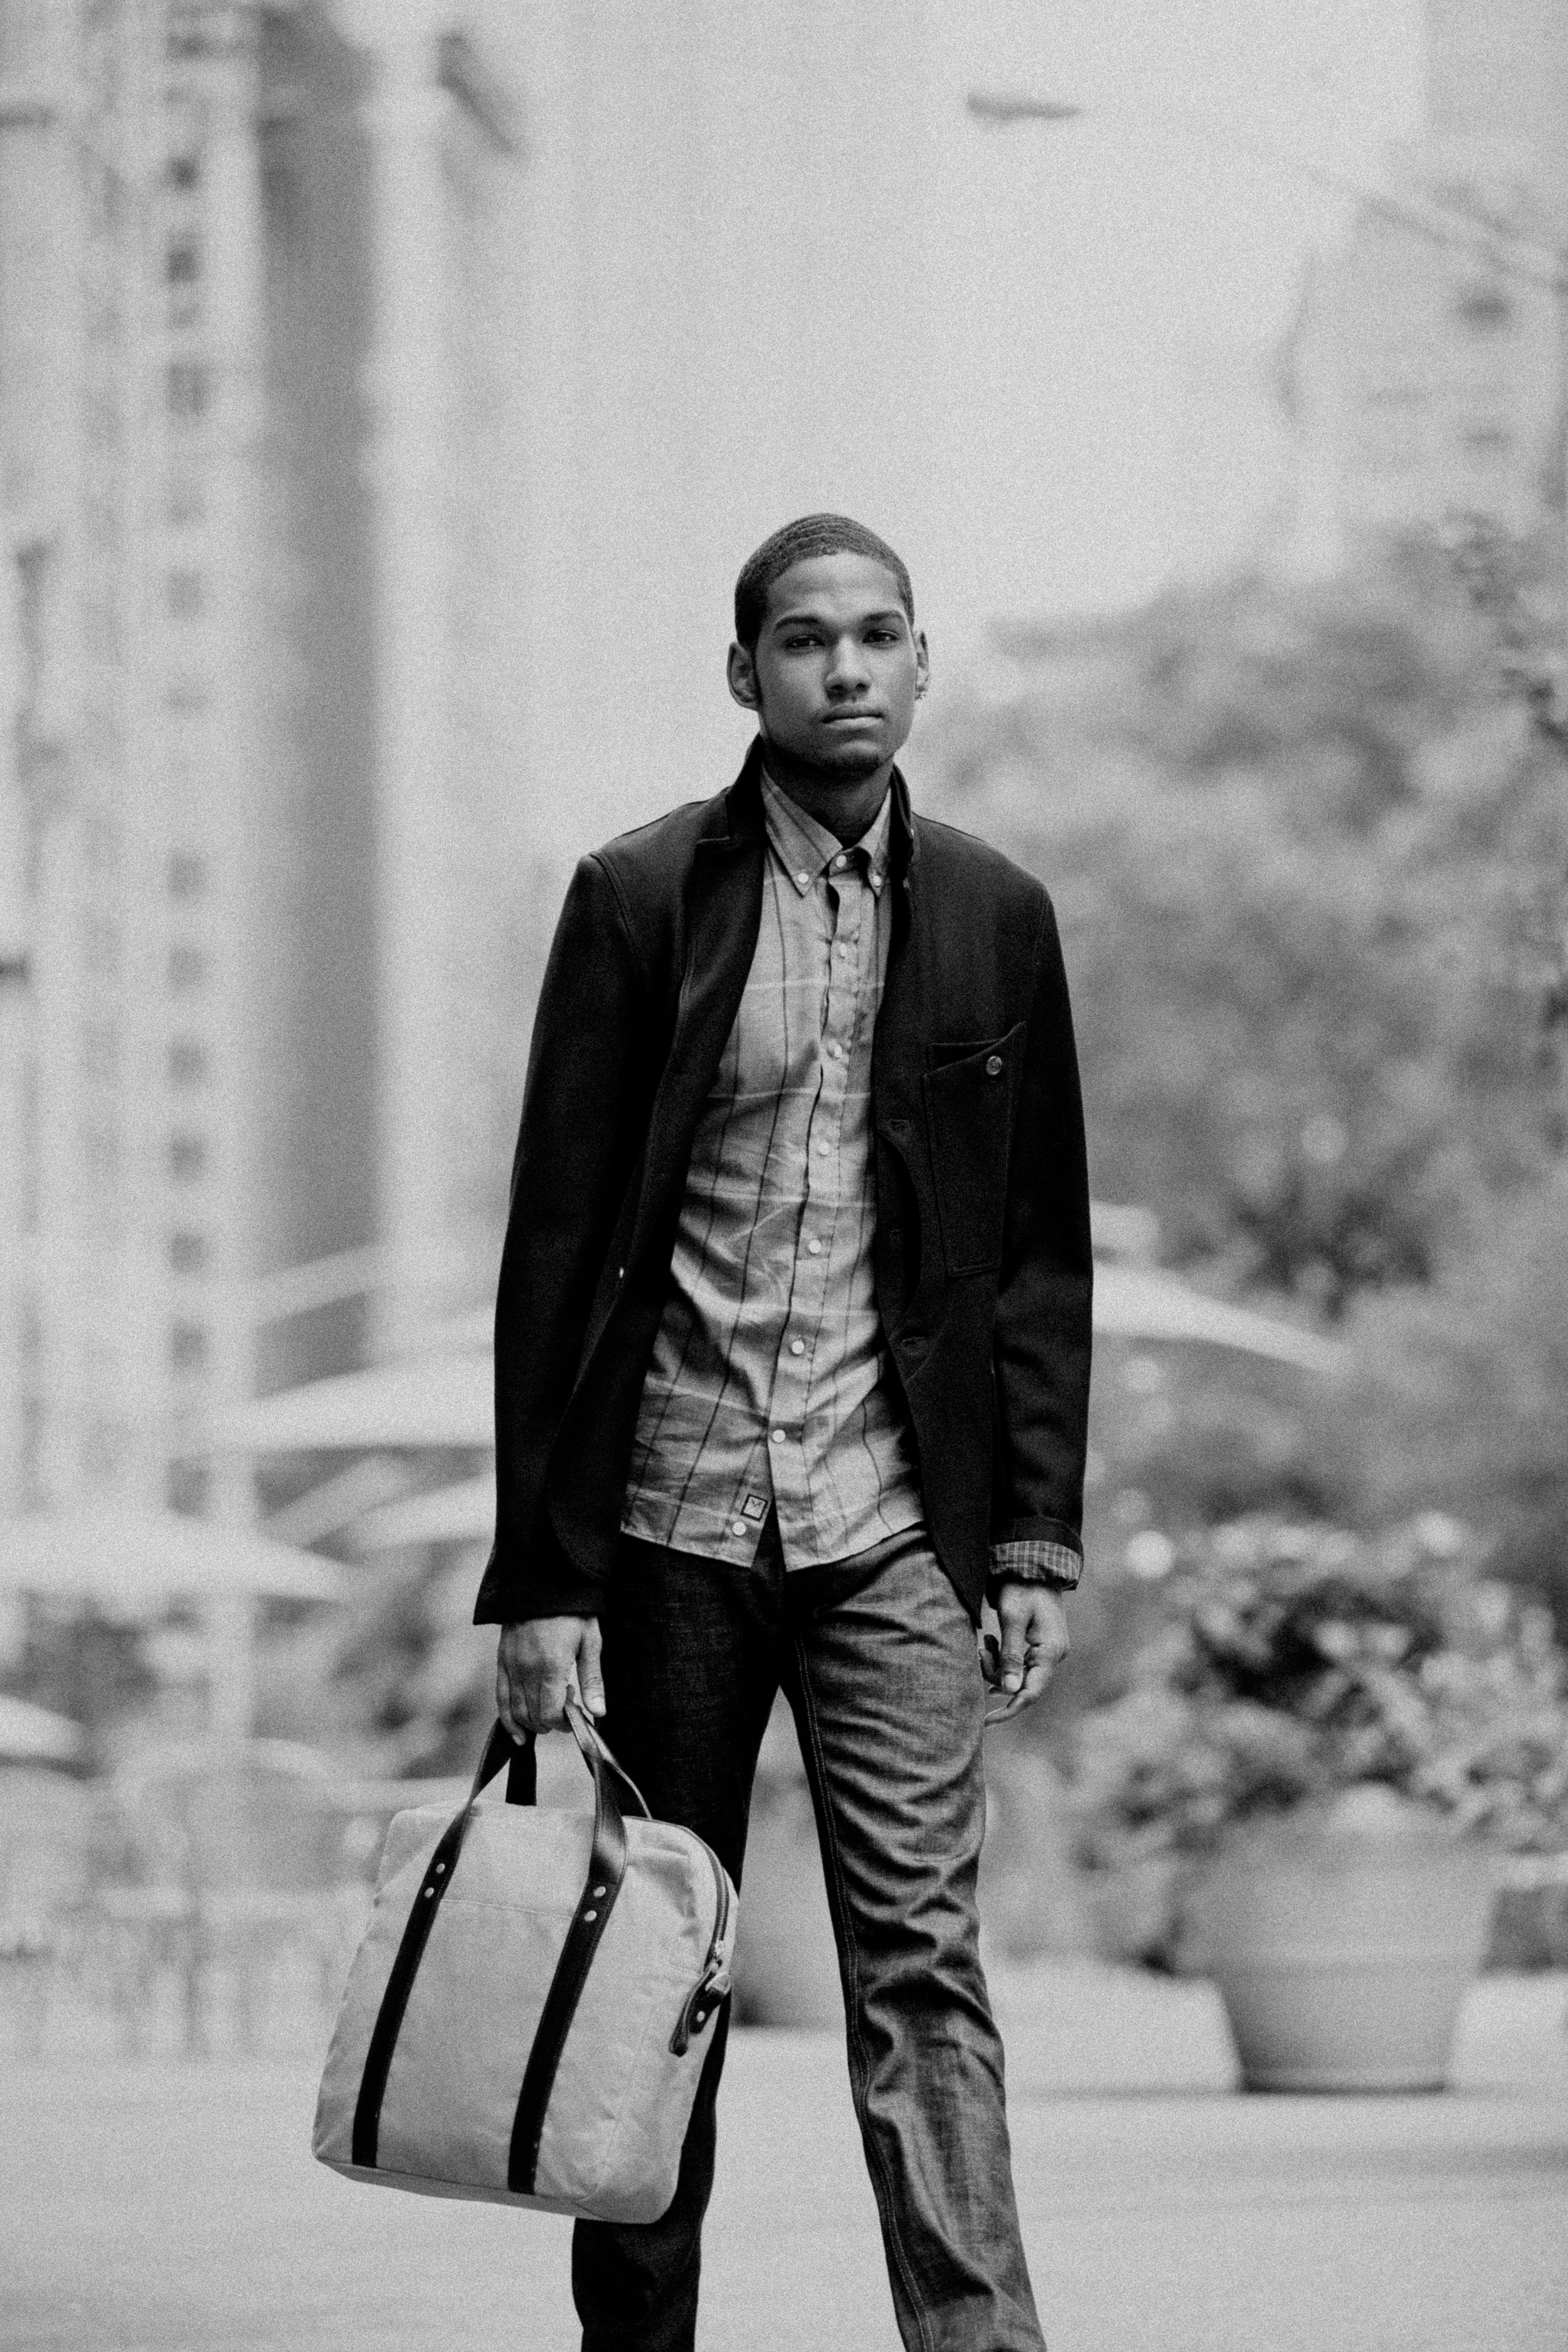
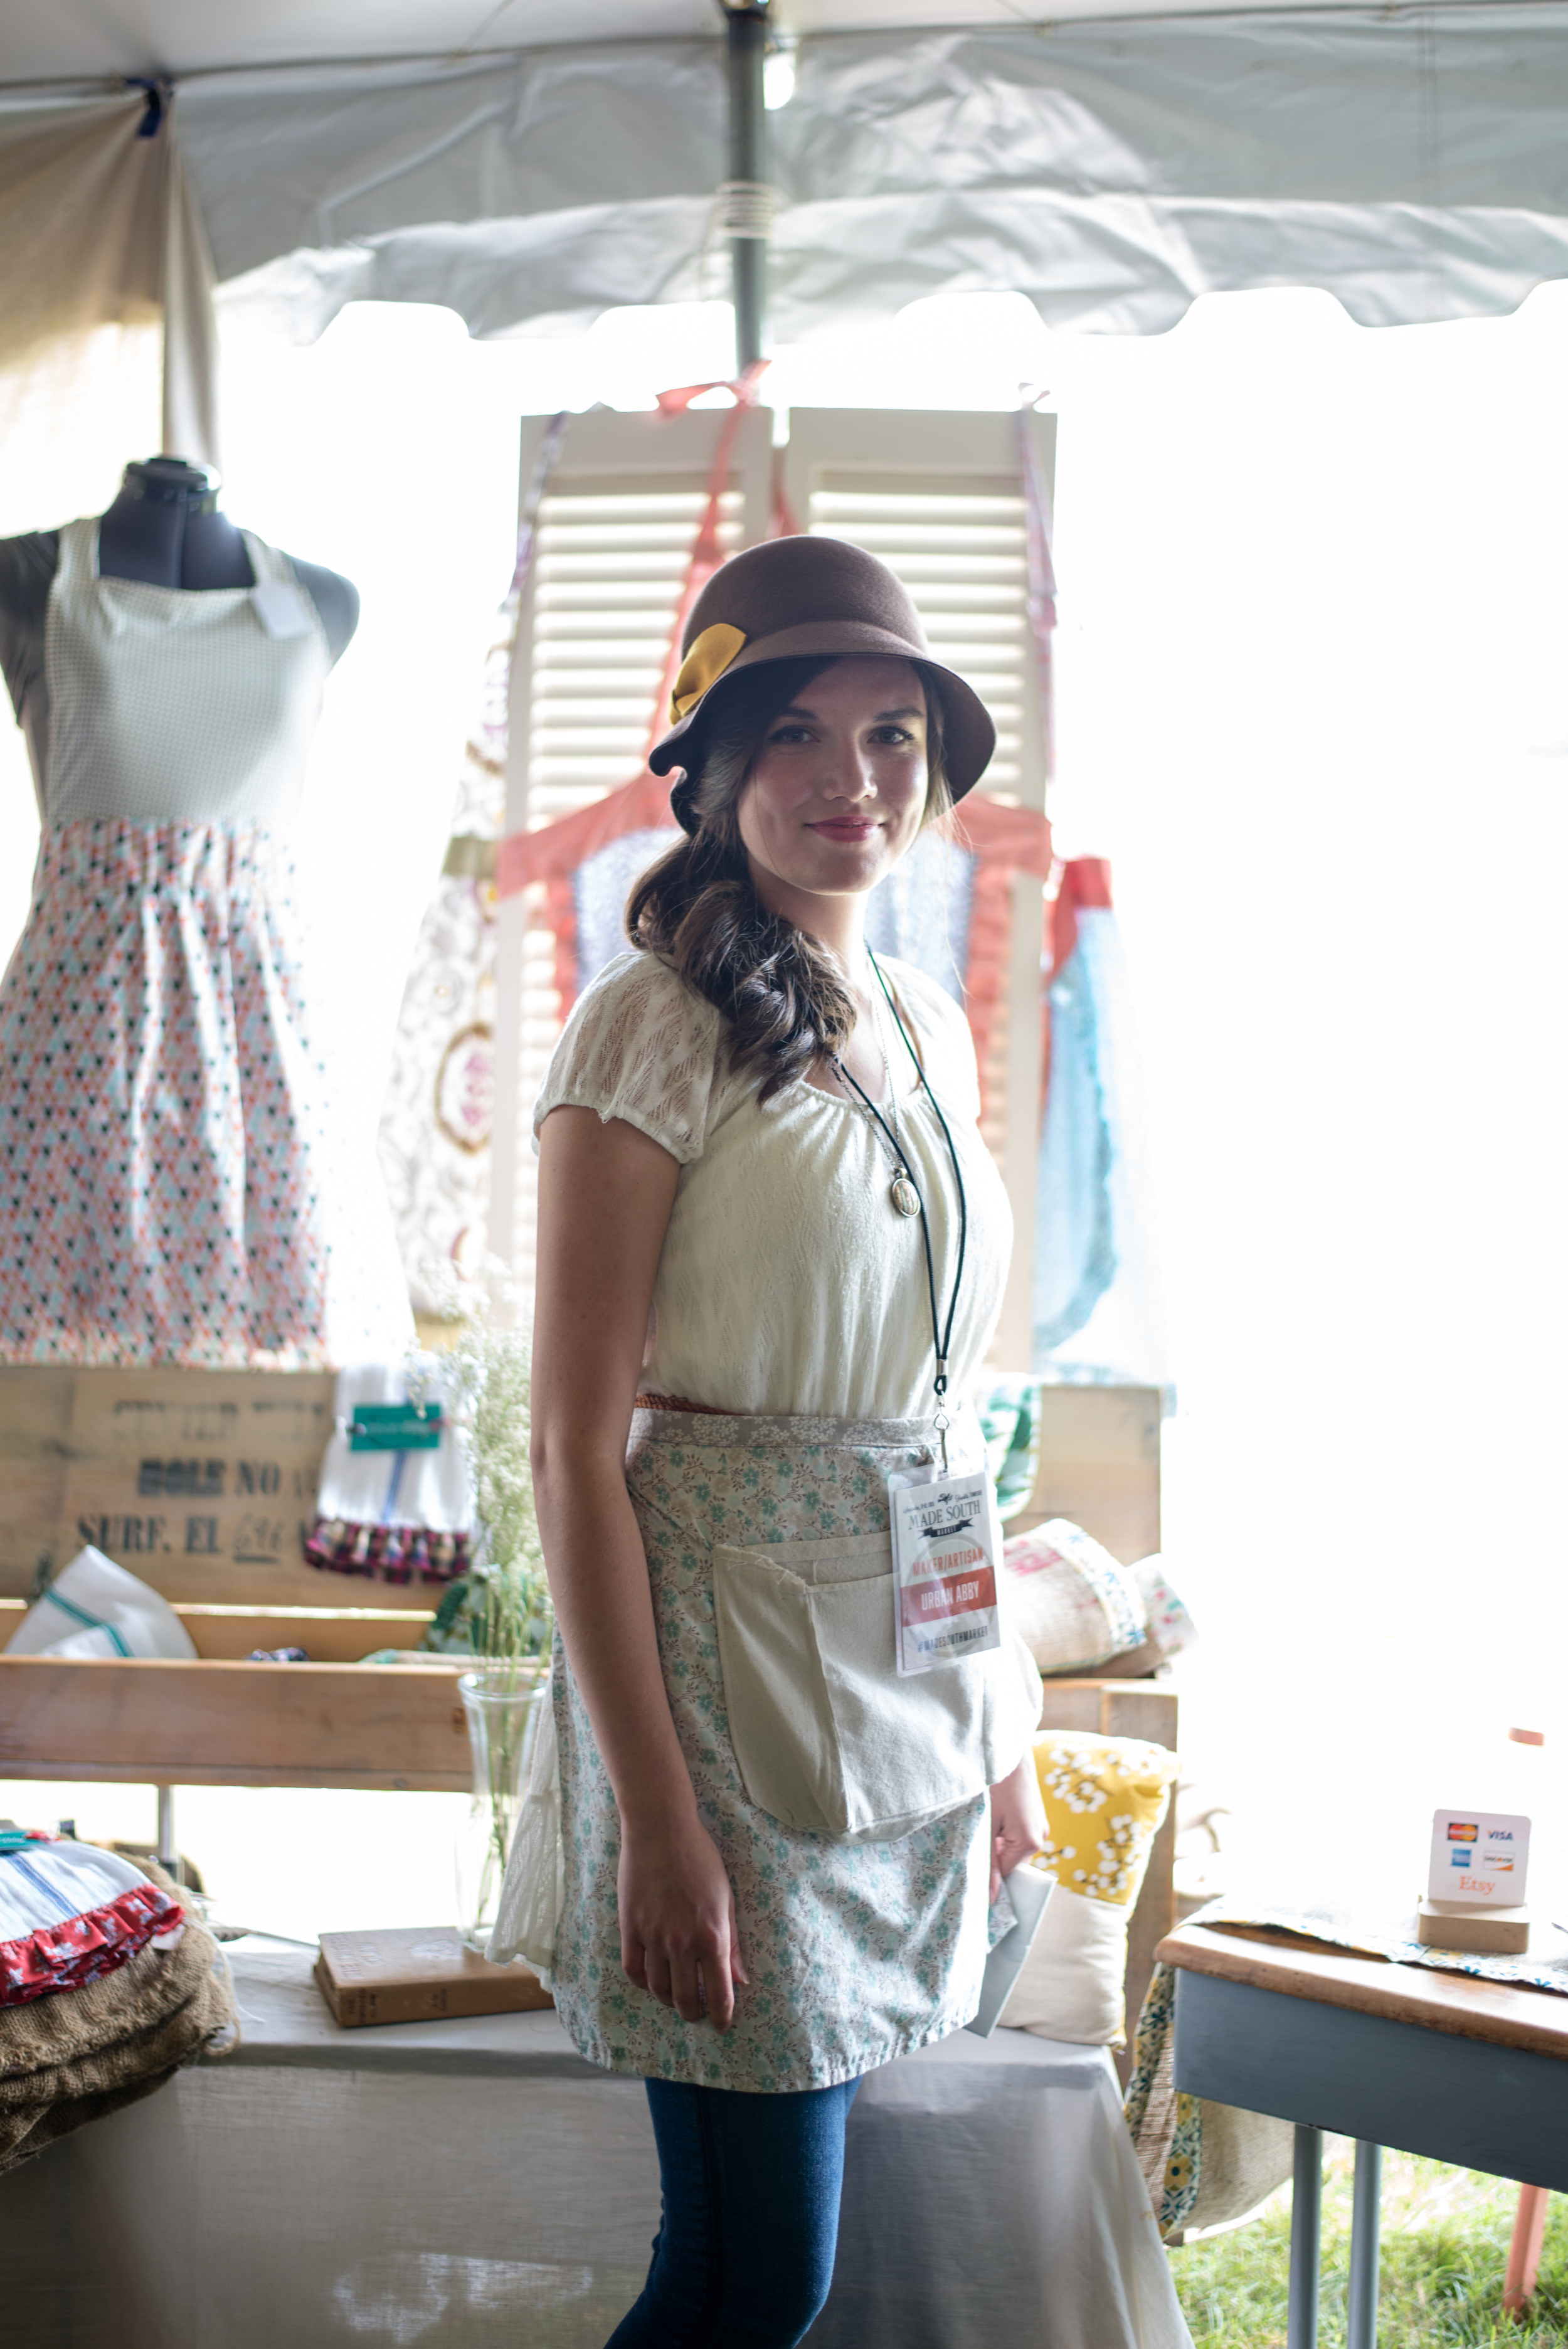
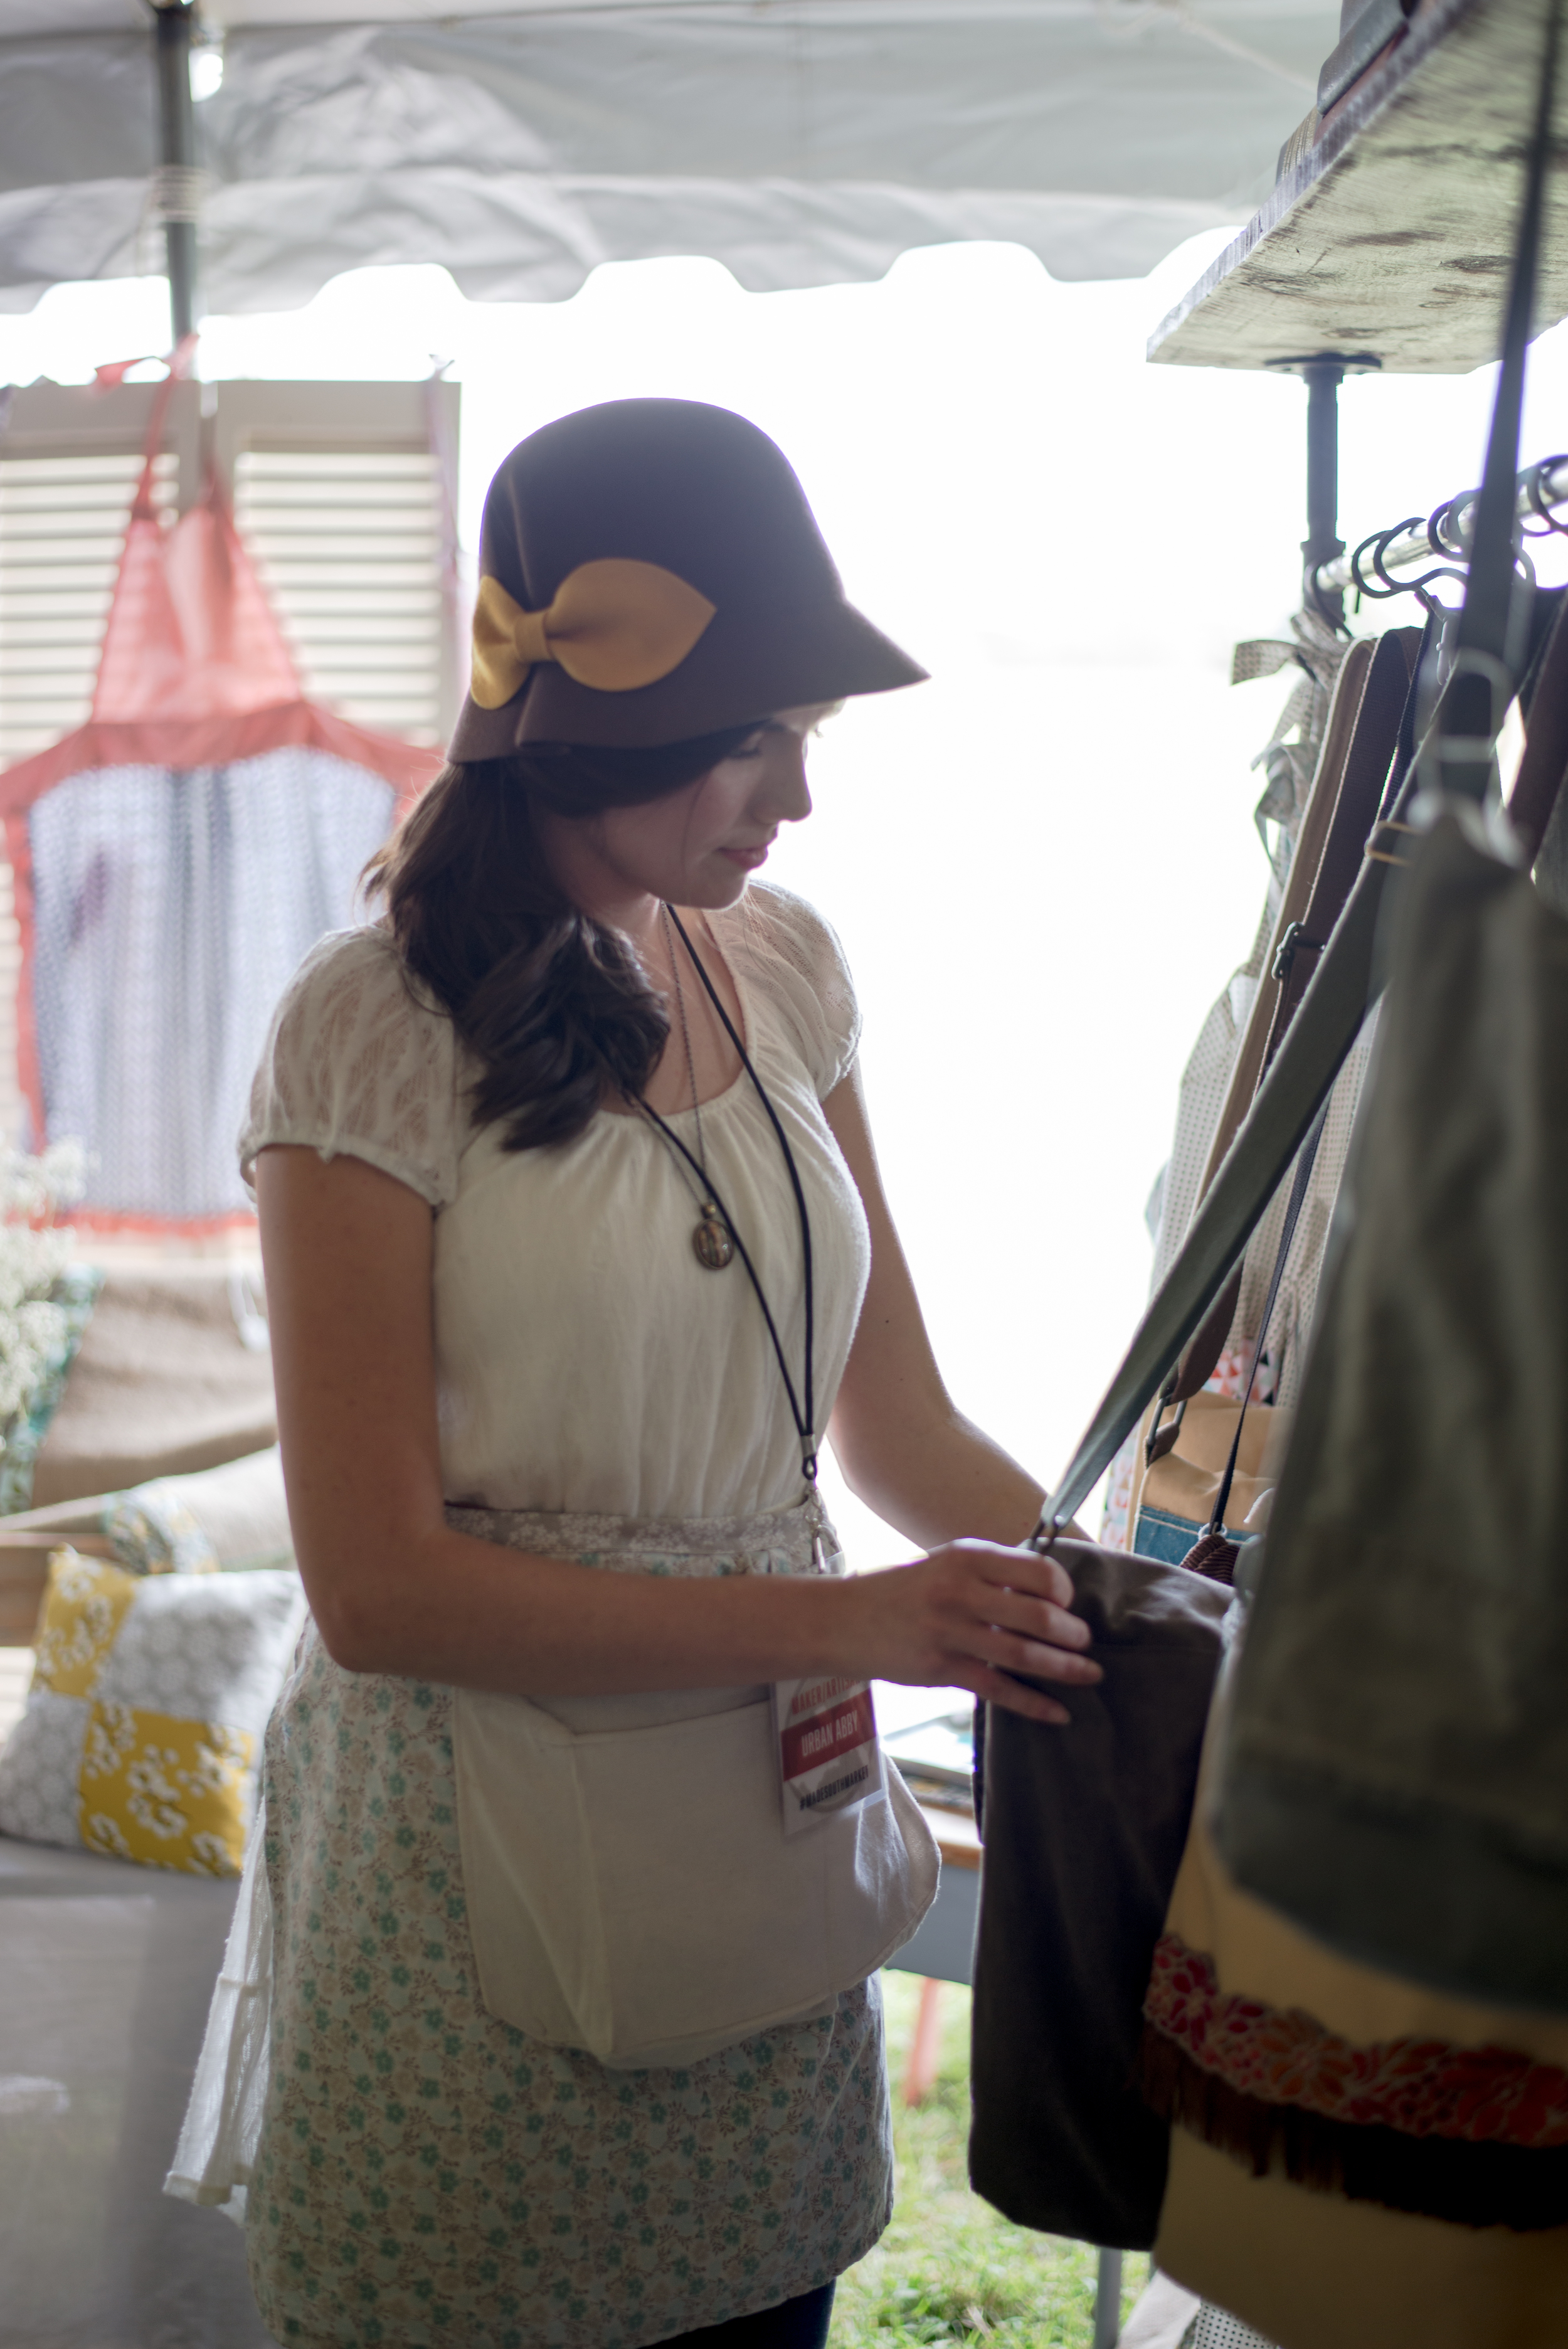
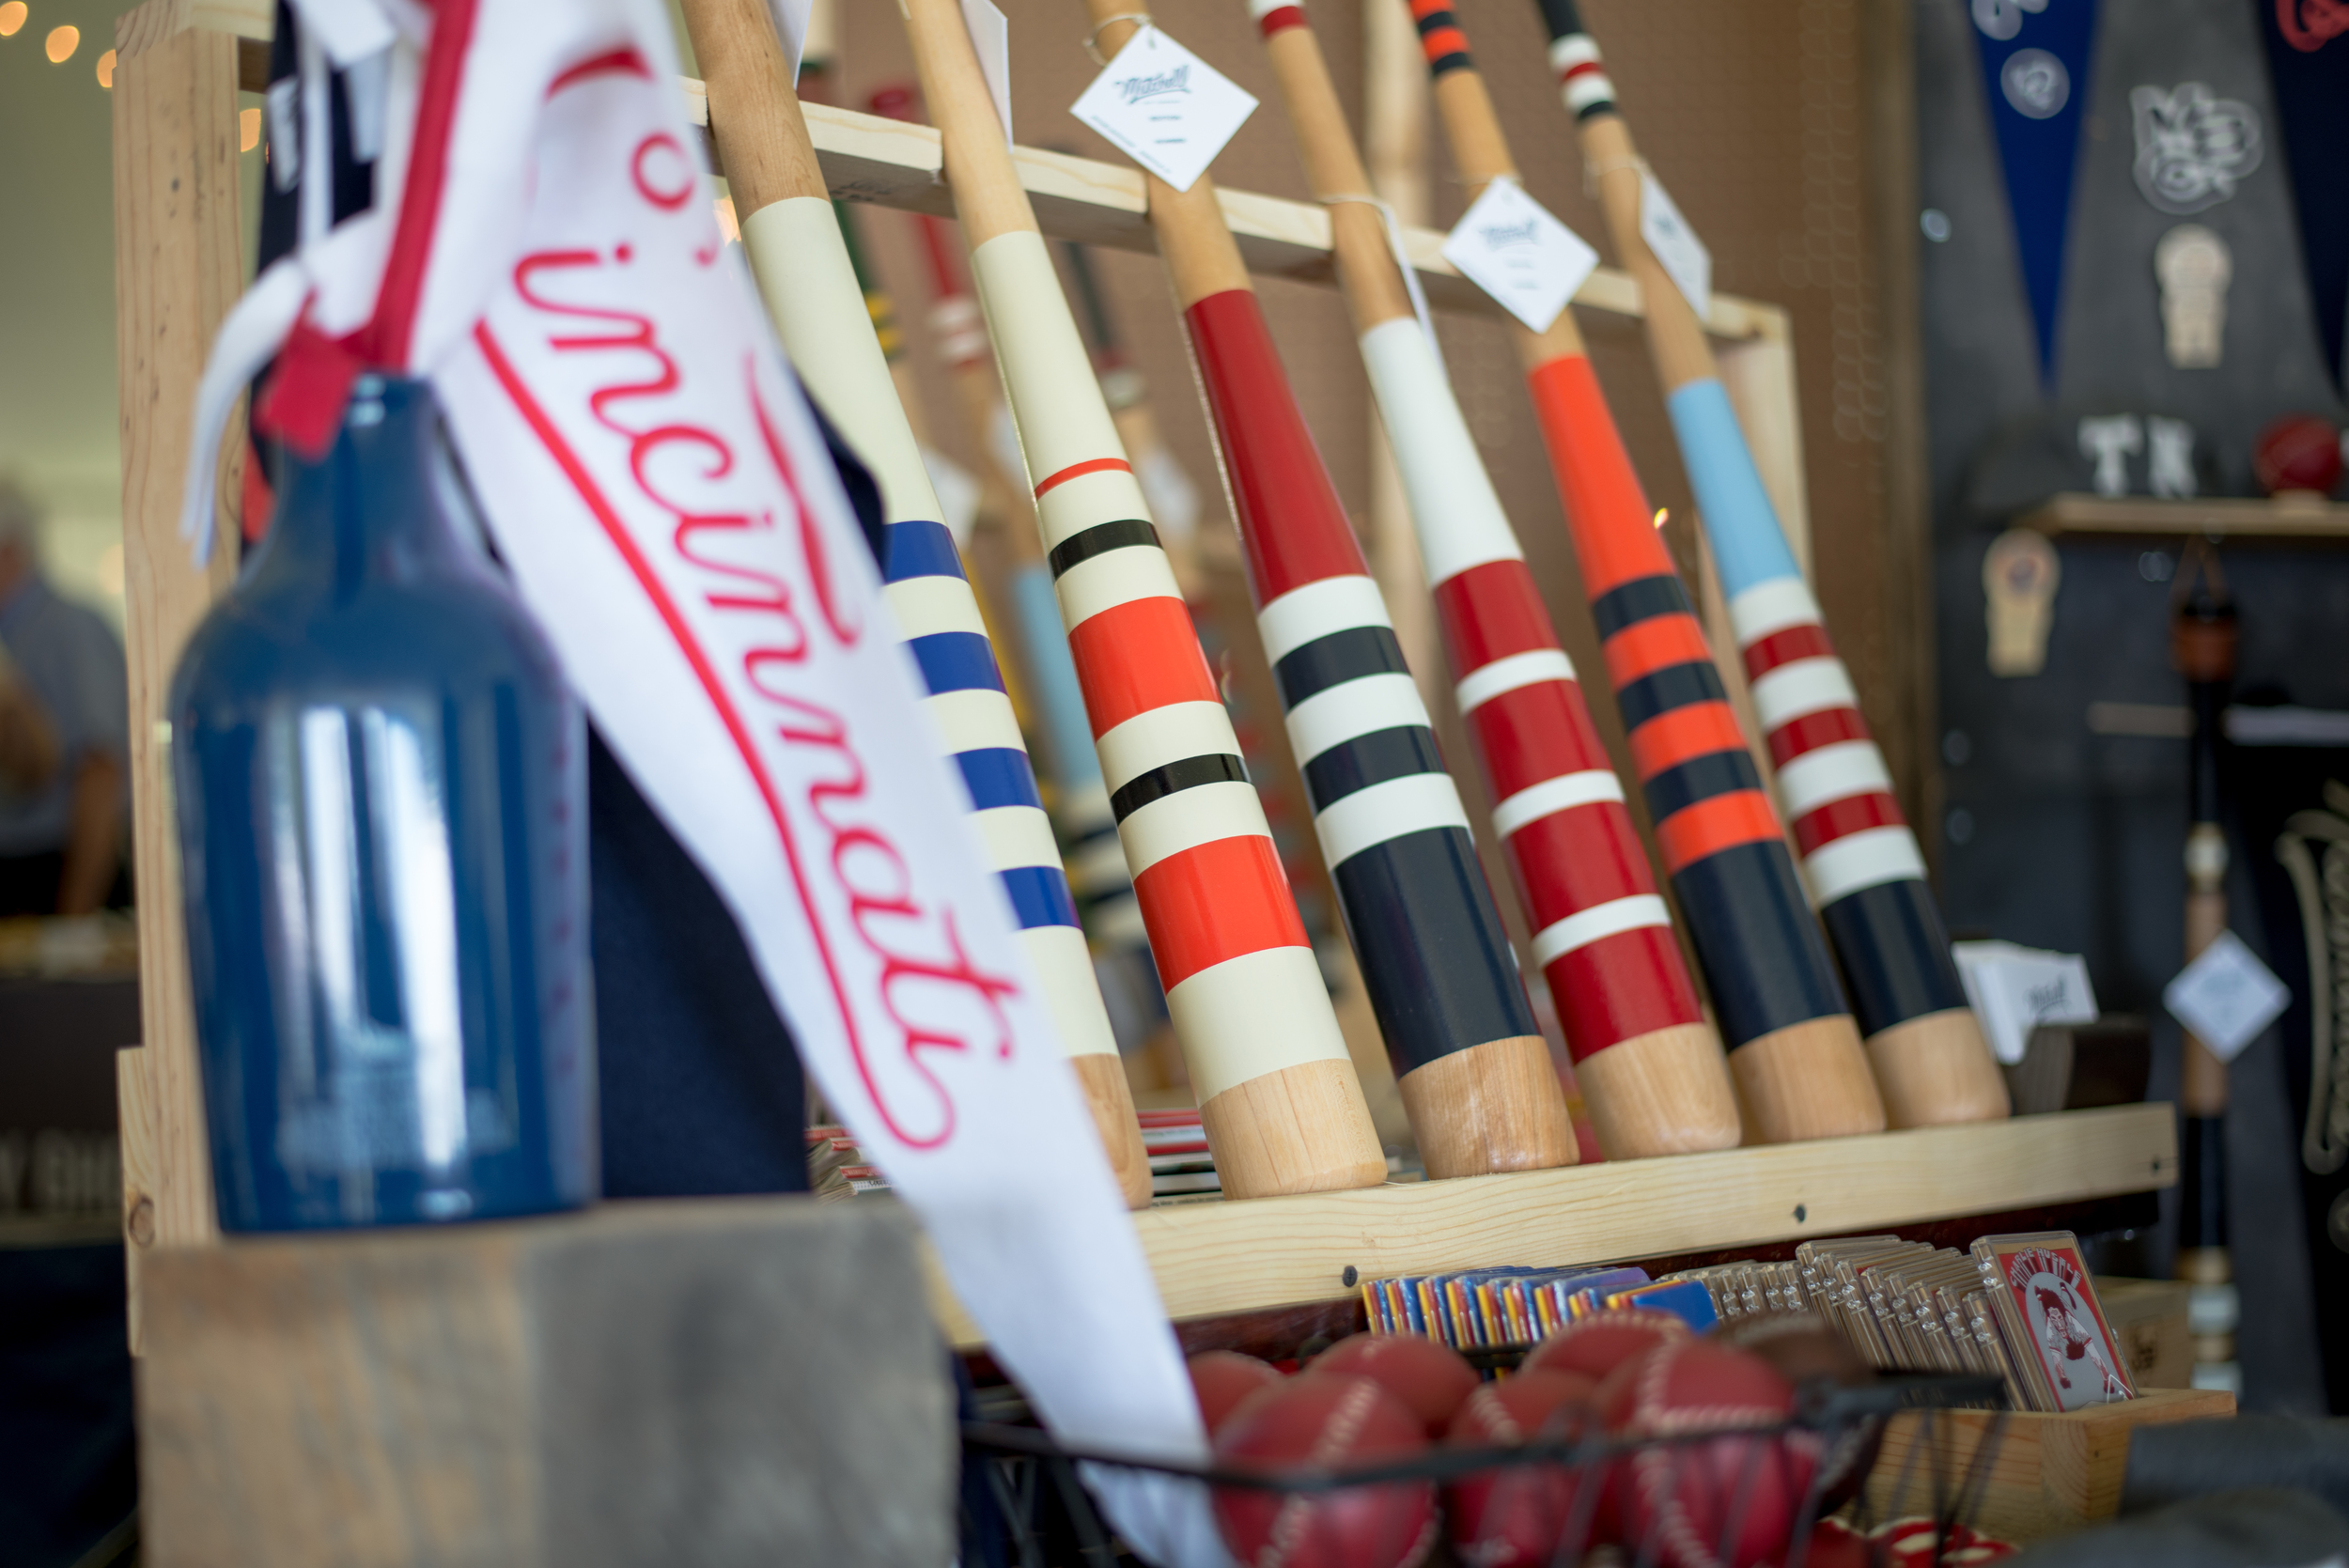
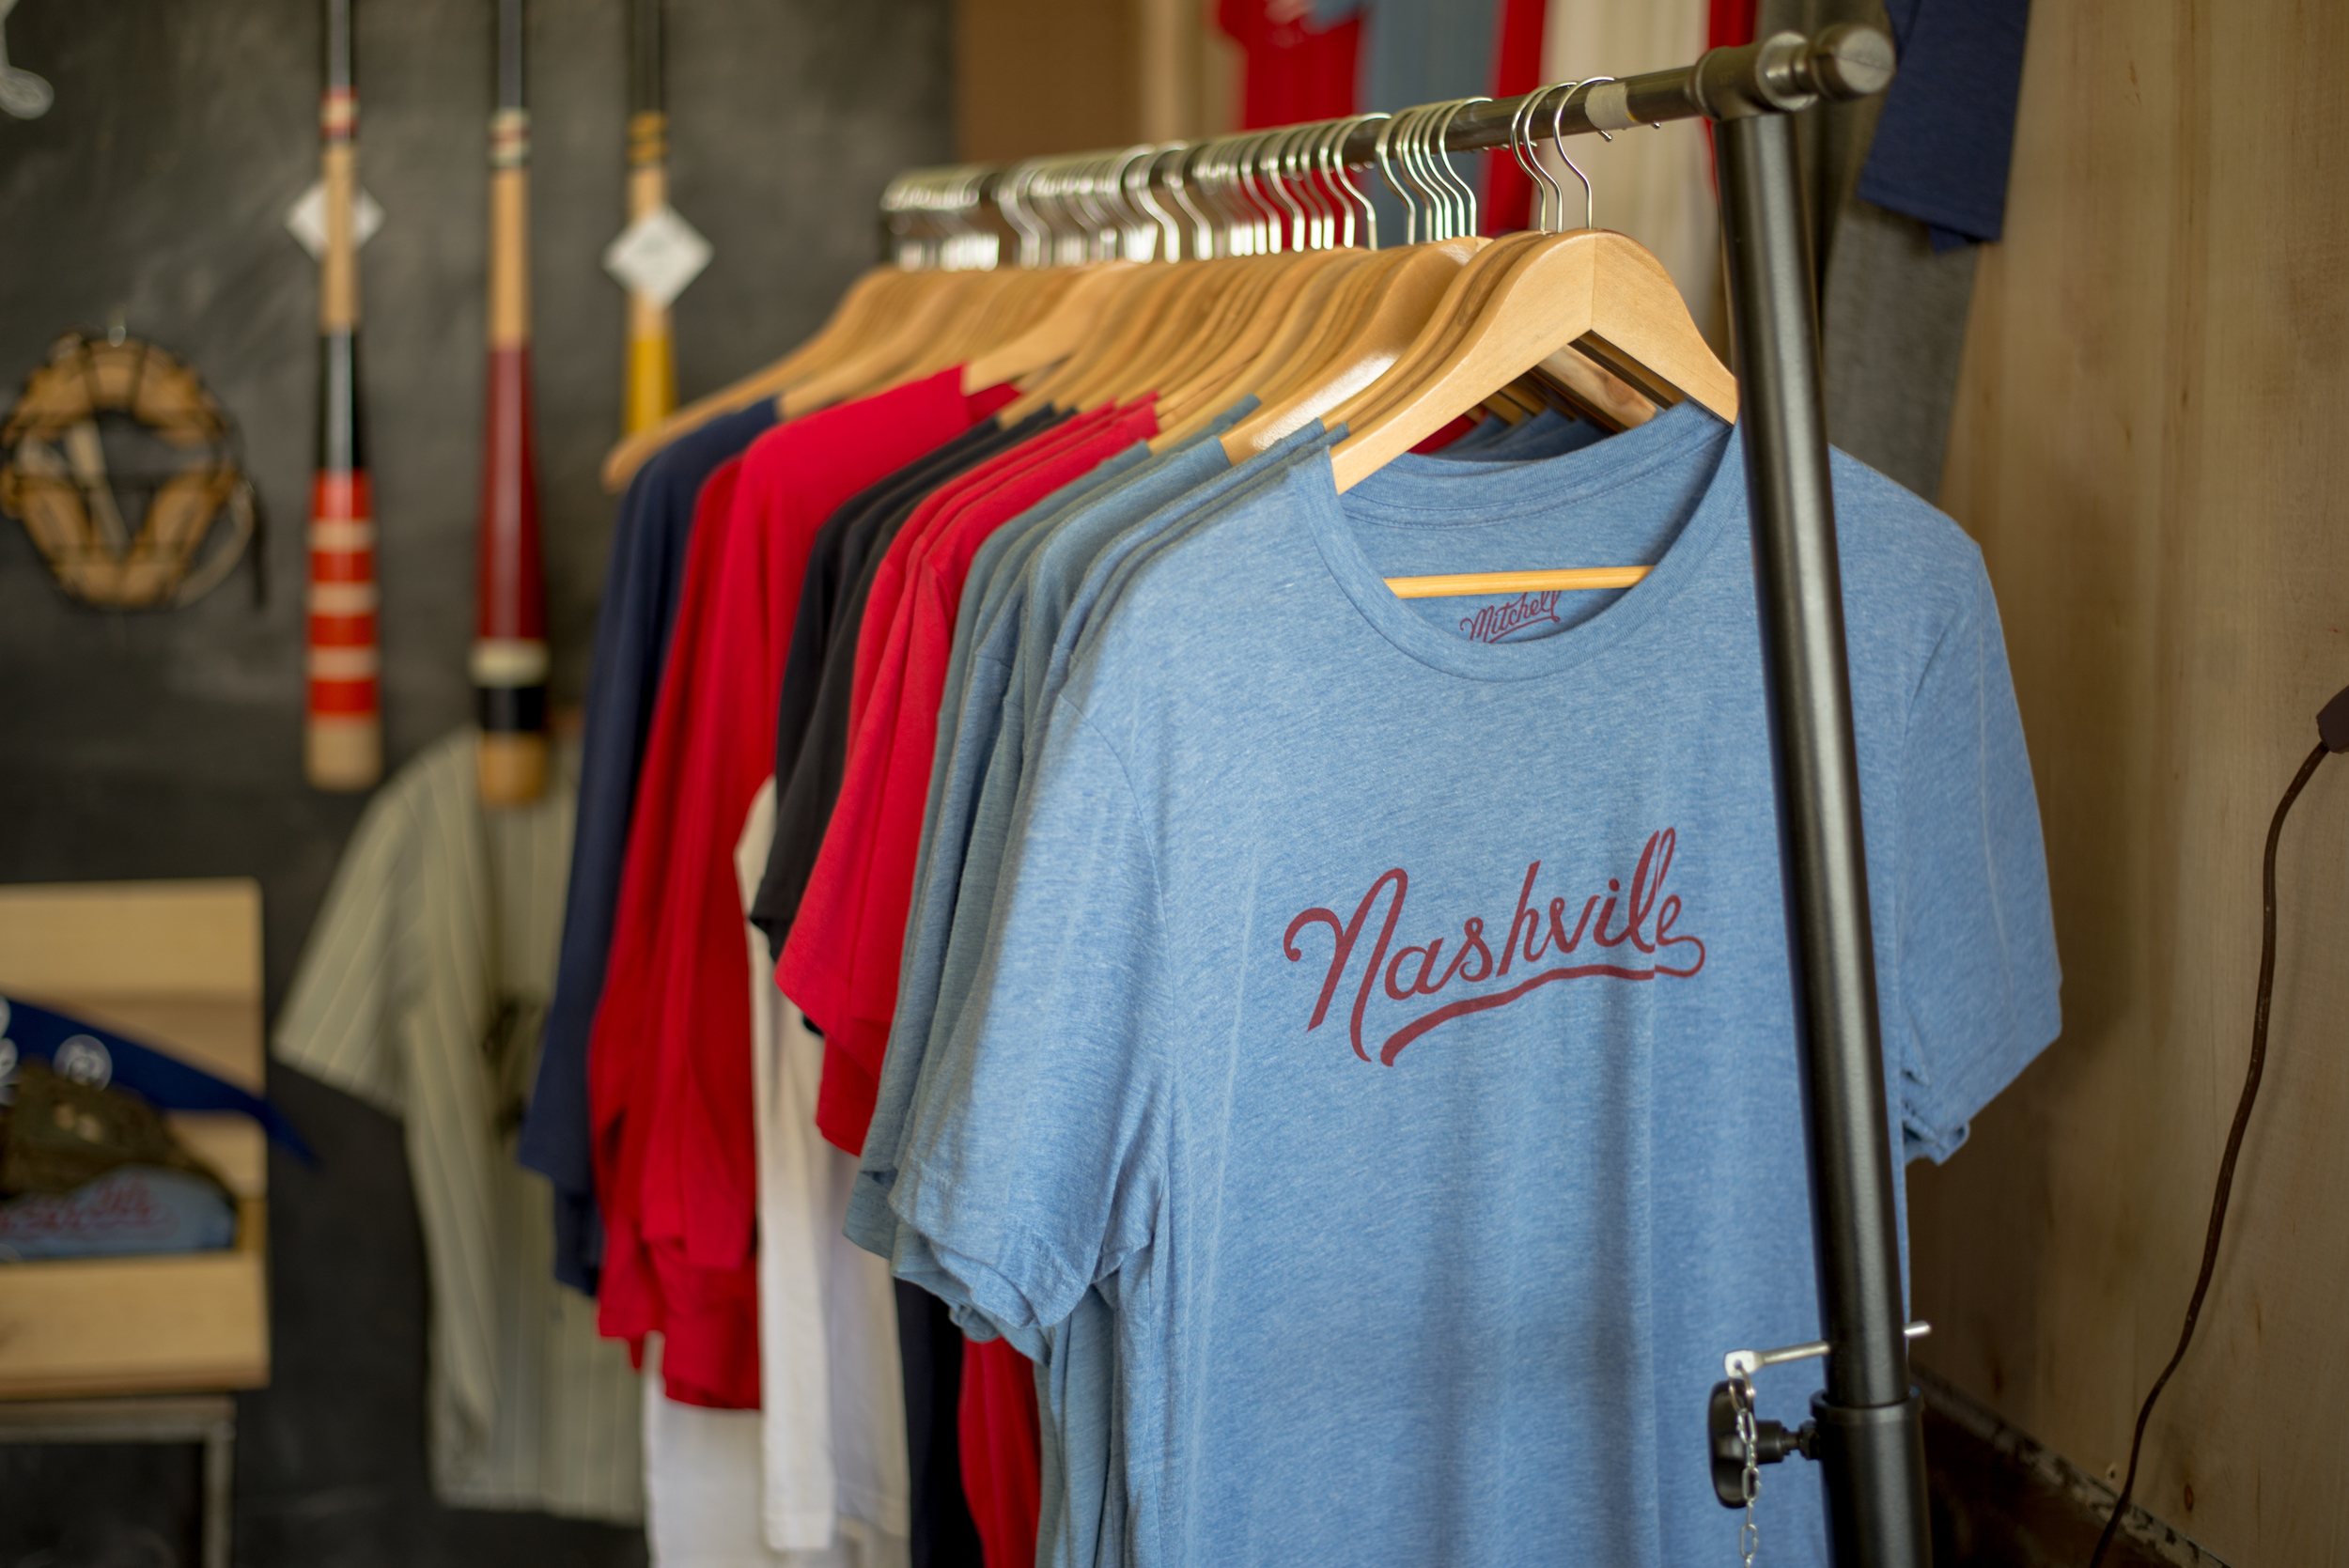
There is something so special about the mediums of leather and waxed canvas. They bring a certain heritage with them. Although the products we manufactured are new, the materials themselves have a nostalgic, reminiscent quality. I think it’s the unrelenting durability that makes it feel this way. You could take a brand new Biographer bag to the mountains and throw it down a ravine. You would then come to find it with new scratches and bruises. However, it wouldn’t be ruined in the slightest. The oils and wax that treat the surface will merely adopt these new entities into the fabric. The blemishes will seem to have been there all along as if your father handed the bag down to you from his adventures in Alaska.  

This is what I love most about working with leather: it reminds you of adventure, and inspires adventure even as it undergoes its own transformation.

The work I do day in and day out is satisfying. But it never ends in the workshop. Because people have a bag or journal that they can trust, I get to be a part of their adventures. They come home and tell me stories, or send me photos. It doesn't take long before I myself am itching to close up shop and take off on my own adventure, knowing I'll return more inspired in the craft. Craft and Adventure are so intertwined for me.

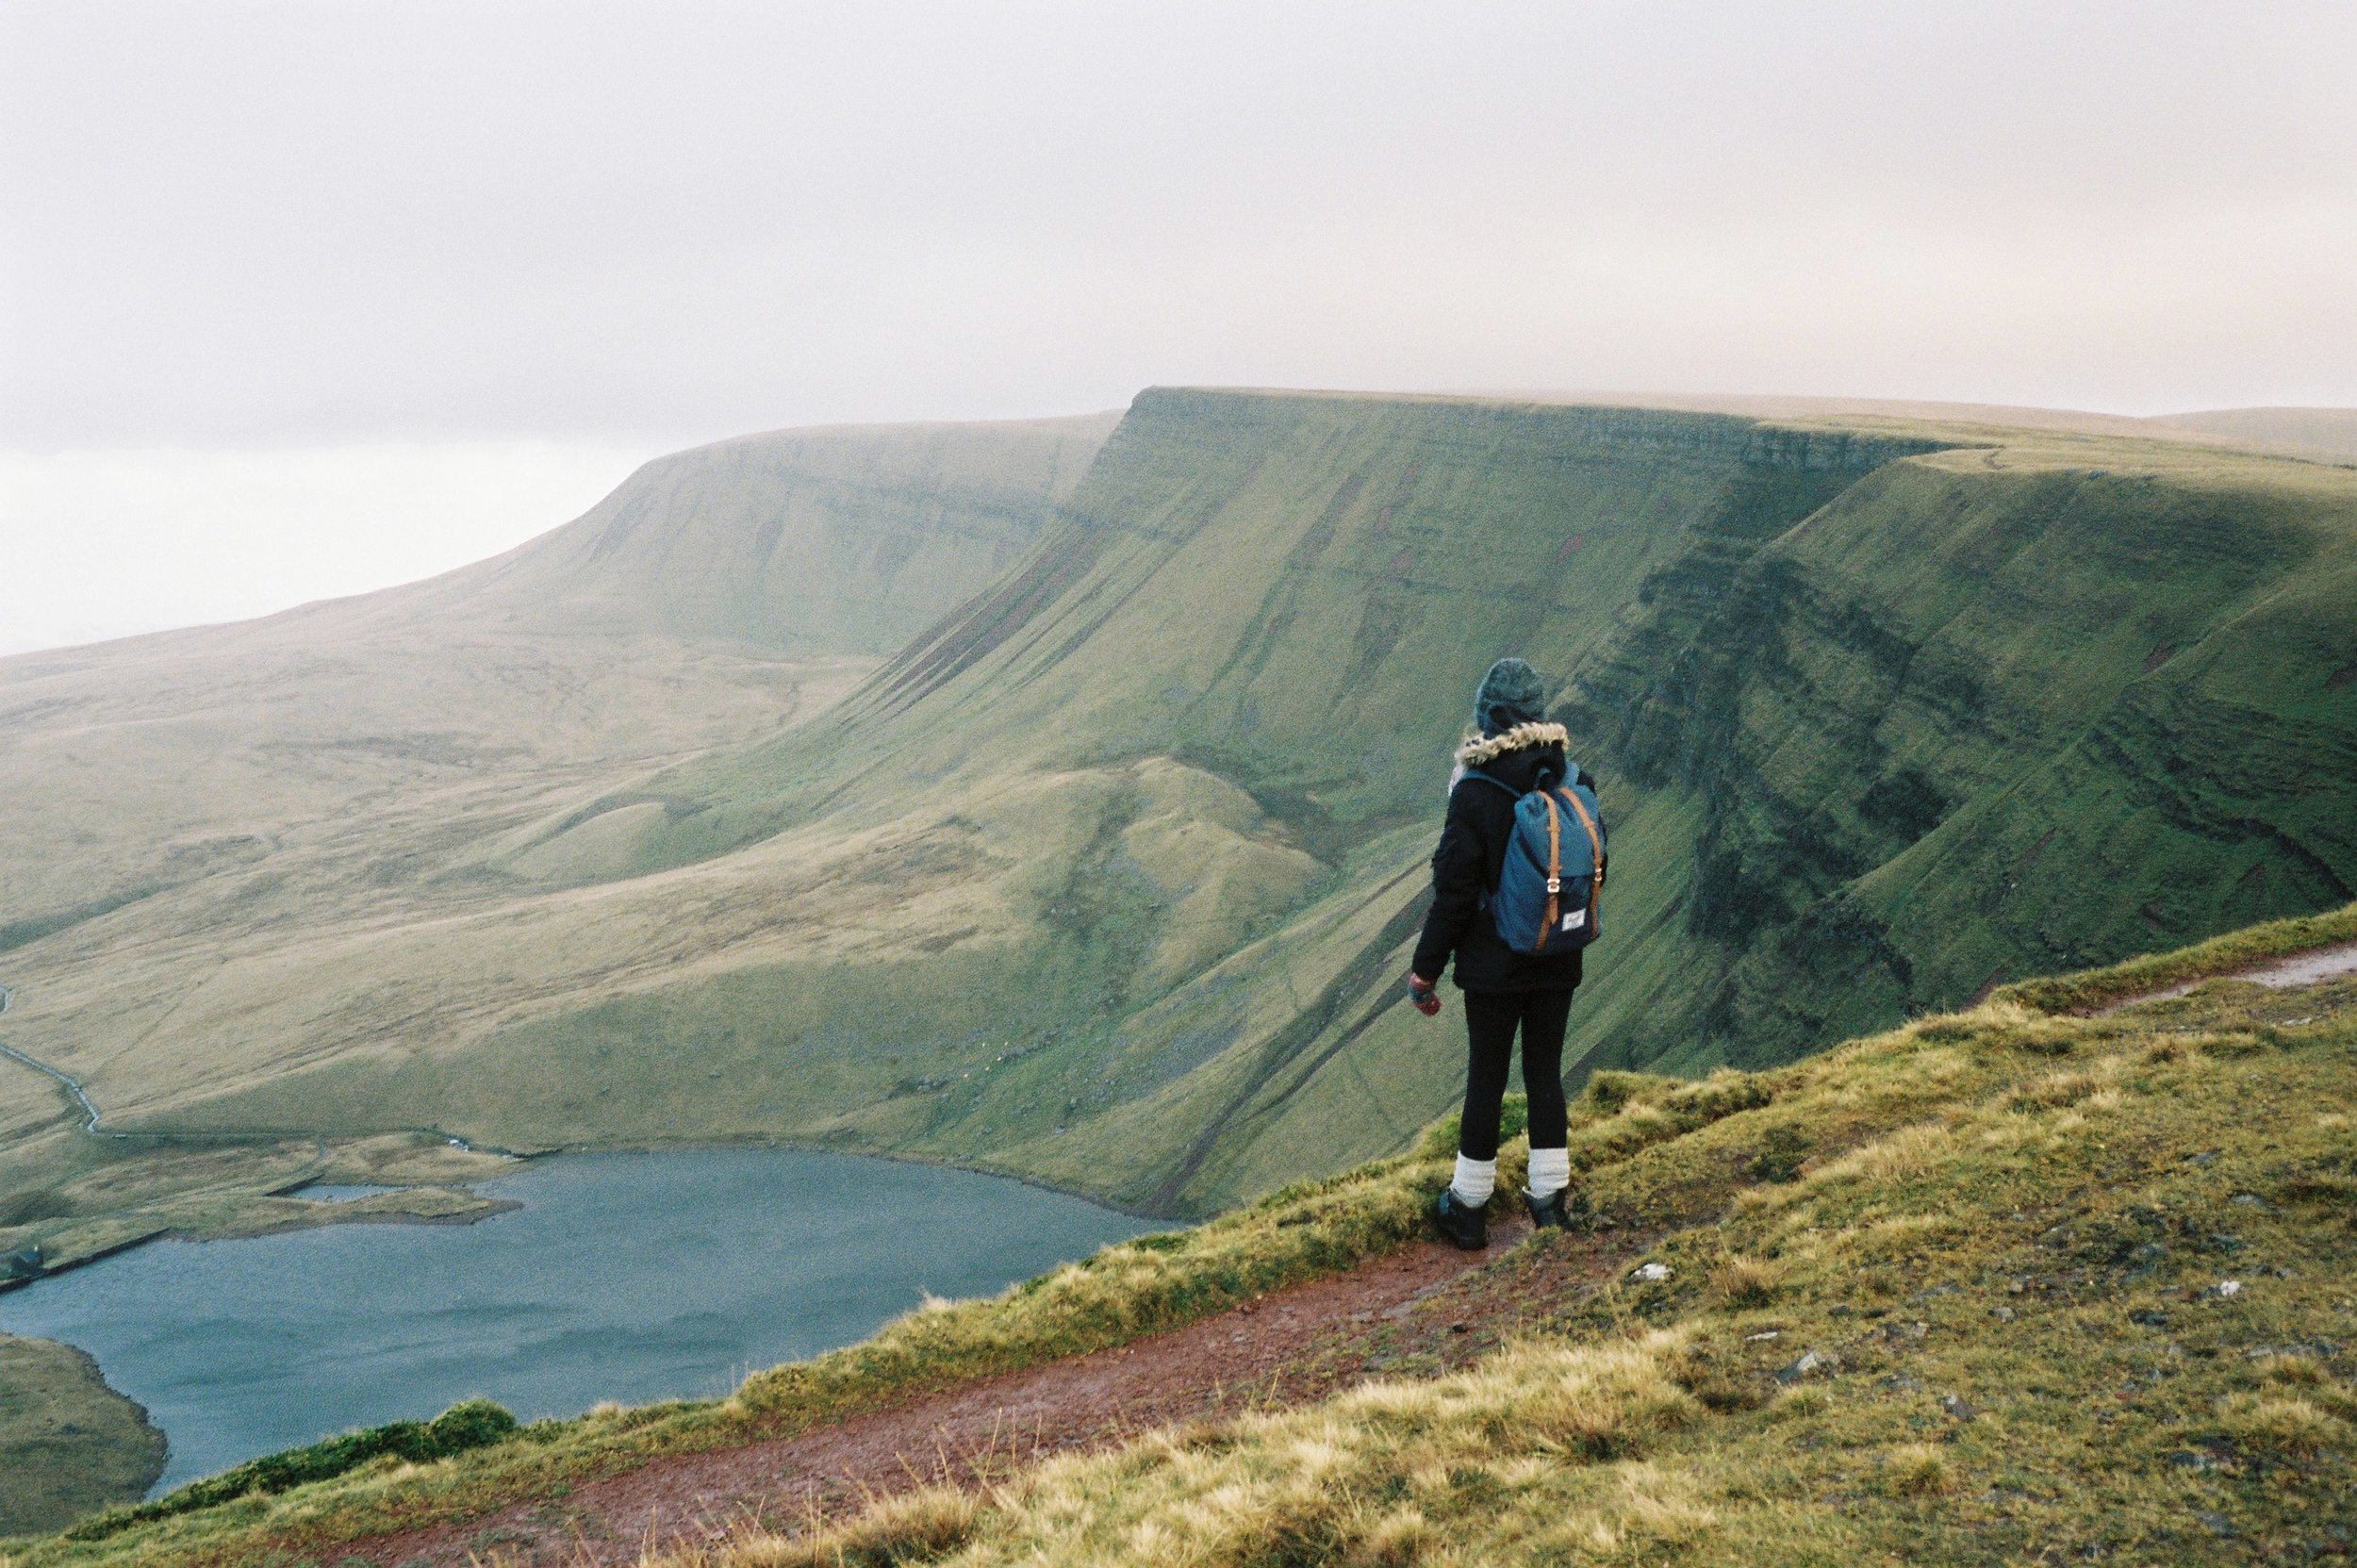
I recently made a travel pack specifically for a trip I was taking to Switzerland. In constructing the pack I had to think through exactly what I would be carrying with me and the most comfortable fit. I tailored it specifically for my adventure. I then tested it for durability and practicality during my long hikes in the Swiss Alps. After only a few days of use a man on a train between Interlaken and Bern asked me where the bag was from. Before I could answer he said “that looks like it has a lot of stories”.

I proceeded to tell him about my business and how I love to make durable goods that have a heritage feel to them. He was surprised that the bag was in fact new because it already looked warn in with long days of travel. At that point I had a choice: to end the conversation or to ask the man about his travels. This might seem like an incidental or simple concept, but I truly believe these moments of decision are what distinguish an Adventurer from a Sitter. A Sitter, in my mind is someone who has the potential to be living adventurously, but, for any number of reasons, is not. 

Adventure is not just about physically traveling to the unknown. I think that the underlying truth of all adventure is that it draws a boundary, a line in the sand. We get to choose whether to cross it. I think that adventurous living can take place in locations other than mountains or the woods or overseas (although these adventures are highly encouraged). I believe it is a lifestyle choice, just as much as it is for someone who only purchases ethical, organic, handmade goods.  So too the life of adventure can be chosen.

I think fear is what stops most people from stepping over the boundary into the adventurous life. Asking a stranger about his life can be difficult when fear reminds you of past rejections. Whatever you are faced with, I believe that adventure comes with a sort of sacrifice.

On the other hand, I believe some people are just waiting to be told that they can go on an adventure. We at Bradley Mountain want to help people tap into the full measure of life that comes from doing something new. That is what our brand represents, and you don't have to purchase one of our products to benefit from the inspiration we seek to share. We want to be a group of craftsmen that can lovingly nudge others into a state of adventure.

We strive to implement this element of adventure into all aspects of our business from donating panniers to a pair of daring cyclists (oregontopatagonia.com) to holding adventure giveaway contests through our Instagram #liveadventurously. These are small gestures, but through them we strive to help some of the Sitters become Adventurers, while pushing ourselves to become truer Adventurers as well.

I hope that the stories you make with our gear are imprinted on the fabric and leather fibers so that you can hand it down to your son or daughter and inspire their adventure.

Tyler Axtell

Founder of Bradley Mountain

www.bradleymountain.com

@bradleymountain (instagram and tumblr).

Iced Tea & Cookies

Ben Ashby

BY RIKKI SNYDER

Have you ever had ginger and orange together? It is a magnificent combination that I don't think I use often enough at all. When I found this recipe I knew it was going to be good as soon as I saw the fresh ginger and "garnish with orange slices".  And sure enough, I was right. 

I’m turning into a tea lover and nothing can beat this refreshing ginger sun tea. The ginger adds just a light hint of flavor which makes this tea ten times more refreshing. And when you put those orange slices in... oh is it delicious! I put a lot in my tea and let it sit there for a little to really let the flavors combine until the citrus perfectly compliments the ginger.

I think a lot of tea drinkers can agree that a nice glass of iced tea wouldn't be the same without cookies to go along with it. My cookie of choice to accompany my tea drinking are these chocolate chip bars. They're so simple and it's the perfect snack that reminds me of picnic baskets, plaid blankets and sitting outside in the green grass with blue skies above. 

What is your favorite tea & sweets combination?

Ginger Sun Tea

4 1/2 cups cold water

8 teabags

1-2 inch slice of fresh ginger, peeled and thinly sliced

2-4 Tablespoons of sugar

2 12-oz bottles ginger ale, chilled

Garnish: orange slices

Combine water, teabags and ginger in a 2-quart glass container; cover with a lid or plastic wrap. Let stand in full sun or at room temperature for 2-3 hours. Remove teabags; stir in sugar. Cover and chill. At serving time, strain into a 2-quart pitcher. Stir in ginger ale, pour over ice and garnish with orange slices. Makes 8 servings.


Chocolate Chip Bars

2 1/4 cups flour

1 teaspoon baking soda

1 teaspoon salt

1 cup butter, softened

3/4 cup granulated sugar

3/4 cup packed brown sugar

1 teaspoon vanilla extract

2 eggs

2 cups chocolate chips

Preheat oven to 375 degrees F. Combine flour, baking soda and salt in a small bowl. Beat butter, granulated sugar, brown sugar and vanilla in a large mixing bowl. Add eggs one at a time, beating well after each; gradually beat in flour mixture. Stir in chocolate chips. Spread into a greased 15x10-inch jelly-roll pan. Bake in oven for 20-25 minutes or until golden brown. Cool in pan on wire rack. 

Greeta's Geese

Ben Ashby

By: Linda Reid

"Aren’t those geese beautiful?”

The geese belonged to my grandparents, Herman and Lola Render of the Walton Creek area near Centertown, Ky. Summer arrived and with it came more time at our grandparents’ home. It also meant molting season for the geese. Since geese typically molt (lose some of their feathers) during the summer, Mammie took advantage of Mother Nature’s help in harvesting feathers for new pillows. Their feathers sure made neat pillows! 

My sister, Jo Carolyn Patton, and I, Greta Whitehead, lived in that neighborhood and were always at our grandparents’ home as much as possible. We had grown up around the geese but we were afraid of them. We knew that geese were sometimes used for security animals because they are so easily excited and alert you to impending danger by flapping their wings wildly and honking loudly to scare off suspected intruders. Still, we loved to find their big eggs! It was always special on Easter to have a big colored goose egg in our basket. 

We were daring kids...especially me. I would make one of the geese mad just so it would chase us. The only time we were pinched by one was when we helped our grandmother hold the big geese while she plucked the feathers for her pillows. She would turn one at a time upside down and hold it with her legs and start to work. Jo and I, as little girls, would try and hold their heads so they wouldn’t pinch her legs. We would get tired and let go a few times. Mammie would end up with black and blue legs but good, soft, fluffy pillows. 

Herman Render and Lola Bennett Render, beloved Christian grandparents of our 13 brothers and sisters were near 80 when our family moved on in to Centertown. I have many good memories of Walton Creek people and the good life we had there.Though saddened by our move to town, many new adventures and memories awaited us there. 

My dad, the local barber, felt it necessary to move to town so he could be close to his barbershop. Sometime in the 40’s, Dad bought an old Greyhound bus. He converted the old bus into a nice café that sat on Main St. It was quite beautiful, inside and out, with a fireplace, juke box, booth and stools at the counter. The “Blue Bus Café” became the hangout for teens...a safe place that was supervised by good honest folks who believed in their community and its future. Our parents, Raymond “Dick” Render and his loving wife, Lou, ran the café until they moved to Jeffersonville to work in the shipyards.

Times were hard and work was scarce so many families of our hometown had to move where they could find steady work. The Blue Bus closed but the stories of good times there live to this day. Other small cafés have come and gone in Centertown. Each one had its regular customers who would enjoy a good cup of coffee and the stories shared around the table. More often than not, someone would bring up the Blue Bus Café and fond memories began to flow. Although we missed our days at our grandparents’ farm, the Blue Bus Café occupied our time and life moved forward. Lessons and values learned on that farm and in the Blue Bus Café never left us.

Whenever I see geese I recall the fun we had helping Mammie make pillows. In reflection I can see that we were learning work and care for the family, but we just thought we were having fun. As I drive down Main St. in Centertown, my mind’s eye still sees that old Greyhound Bus that transformed to a wonderful hangout known affectionately as The Blue Bus Café...a safe place for youngsters to spend supervised time together knowing that Daddy and Momma kept a keen eye on each and every one of us.

Basil Lemonade

Ben Ashby

When you need a sweet, little, afternoon pick me up grabbing a cold glass of lemonade can really hit the spot. Now you might think that basil and lemons sounds a little weird together because I did too, at first. But I assure you, it is a most magnificent combination when it comes to lemonade.

If you only want a small hint of the basil use something close to 13 leaves, but if you love it like I do, use 20 or even more leaves. Lemonade is one of my favorite drinks to prepare, especially in the summertime. Squeezing the fresh juice out of the lemons makes your house smell incredible, especially combined with the basil.

I always have to sneak a taste when making the syrup because it’s so good! Add lemon slices to your pitcher or glasses and garnish with extra basil and lemon zest. You could even try substituting the basil for mint for a different flavor!

Basil Lemonade

1 1/4 cup water

3/4 cup sugar

1 cup freshly squeezed lemon juice (about 5 large lemons)

1 Tablespoon lemon zest

6 cups cold water

15-20 basil leaves

1 extra lemon for garnishing


Bring the 1 1/4 cup of water to a boil in a small pot and remove from heat. Add the sugar and stir until well dissolved. Crumble and roll the basil leaves in your hands to release their oils. Add them to the water/sugar mixture along with the lemon zest.

Let it sit until cool. Pour the cold water and lemon juice in a pitcher. Strain the contents of the pot, discard the basil and lemon zest and add the liquid to the pitcher. Stir well, pour over ice and garnish with lemon zest and basil leaves.

Basil Lemonade photography, styling, and recipe by Rikki Snyder. Find more from Rikki on her website and on Instagram—@RikkiSnyder.

Everyday Special Brownies

Ben Ashby

Cake-y or fudge-y? When it comes to brownies, that is the ultimate question. I’m always on the lookout for a solid brownie recipe that I can go to anytime I need a quick snack. After much searching I’ve discovered these everyday special brownies and just like their name they really are something special.

They’re somehow a delicious combination of fudge-y and cake-y all in one. There are only 5 ingredients needed to make these brownies and the batter is whipped up in minutes. That simple. And with how crazy life can get these days I’m always looking for ways to make each day simply special.

Everyday Special Brownies

1 cup butter

1 1/2 cups dark chocolate pieces

3 eggs

1 1/4 cups sugar

1 cup flour

Preheat oven to 350 degrees F. Melt butter and chocolate in double boiler over low heat. Cool to room temperature. Beat eggs in medium bowl until foamy. Stir in sugar and beat at medium speed for 2-3 minutes.

Reduce speed and slowly pour in chocolate-butter mixture. Slowly beat in flour in several additions. Pour into sprayed, floured 9x13-inch baking pan. Bake for 35-40 minutes or until brownies are done in middle. Cool and cut into squares. Makes 12-18 brownies.

Everday Special Brownies photography, styling, and recipe by Rikki Snyder. Find more from Rikki on her website and on Instagram—@RikkiSnyder.

Asparagus Ribbon Salad

Ben Ashby

BY RIKKI SNYDER

With spring coming up quickly this salad is a breath of fresh air! The vibrant veggies,fresh herbs and pops of color that the radishes add are perfect. There are so many different ways you can prepare asparagus and peeling them into ribbons for a nice, healthy salad is one of my favorites!

If you can find purple and white asparagus at your grocery store mix in some ribbons of those colors for even more vibrance. For the best ribbon-making-asparagus, try to pick the thickest pieces you can find. They’re so easy to make, all you have to do is remove the scales of the asparagus, and using a sharp vegetable peeler, peel the asparagus from the tip to the end. After you peel it you can break off the remaining tips and throw them in your salad if you’d like.

The dressing is by far my favorite part of the salad. It’s creamy and so full of flavor from the garlic, fresh parsley and chives. Absolutely divine! What are your favorite spring veggies?

Asparagus Ribbon Salad

1 lb. thick asparagus spears (about 14 pieces)

2 cloves garlic, peeled

1/2 teaspoon coarse kosher salt

1/2 cup sour cream

1/3 cup olive oil

3-4 Tablespoons lemon juice

1/2 cup chopped fresh Italian parsley

1/4 cup chopped fresh chives

1 Tablespoon milk (optional)

1 head Bibb lettuce, torn

1/2 cup seedless cucumber, thinly sliced

3 radishes, very thinly sliced

Remove scales from asparagus spears. Using a vegetable peeler, peel thin ribbons from spears. Place ribbons in medium bowl of ice water. 

For dressing, first make a garlic paste. Finely chop the garlic, then sprinkle with coarse salt. Smash and rub the salt into the garlic using a mortar and pestle or a flat chef’s knife at a slight angle. In a small bowl, whisk together the garlic paste, sour cream, olive oil and lemon juice. Stir in parsley and chives. If desired, thin with milk. Season to taste with black pepper.

Drain asparagus ribbons and pat dry. On a platter arrange lettuce, asparagus ribbons, cucumber slices and radish slices. Drizzle with dressing. Cover and refrigerate any remaining dressing up to 3 days. Makes 6 servings.

Asparagus Ribbon Salad photography, styling, and recipe by Rikki Snyder. Find more from Rikki on her website and on Instagram—@RikkiSnyder.

Downtown Franklin

Heath Stiltner

Fourteen miles and 100 years from Nashville, Downtown Franklin, Tennessee is an oasis of Southern hospitality housed in a 16-block National Register district of antique shops, gift and book stores, art galleries, boutiques, lovingly restored homes and more. It boasts an award-winning Main Street, brick sidewalks, a stunning collection of Victorian buildings and a host of “Best of“ accolades.

Read More

Maker | Greenwich Vintage

Heath Stiltner

9G3G2088dv.jpg

He's just a small-town man from the Midwest, Minnesota that is. He was raised in farm country and his dad worked hard to make a way for his family. Like his dad, he provides for family and is a husband to his wife and a father to his children. He's a cobbler by trade, working with his hands every day to mend the timeworn boots and shoes of his customers. He tries to teach his children the importance of shopping smarter, buying American-made products that support local and national jobs. He dresses each day like a man should, oxfords laced, collared shirt tucked into his chinos, and he makes sure his hair is coiffed neatly in place before leaving the house. This man isn't living in the 1950s, he's very much a modern man. His name isn't Ward Cleaver, it's Tomas "Zen" Pomazi and he is helping America redefine what it means to be a postmodern man.

9G3G2187.jpg

Zen is the owner of Greenwich Vintage Co., a company devoted to rehabilitating old worn out shoes to create a shoe that is as comfortable and colorful as it is classy. Zen grew up an artistic kid, after high school he went to an art institute and worked as a professional graffiti artist for many years while working in retail. "I've always loved art," says Zen, "I have always been someone who has to create art. I worked in professional graffiti for years, painting murals for companies and stores. It was the creative outlet to my job in retail for skate shops and sneaker companies."

9G3G2177.jpg

It was when he started to feel unfulfilled in that career that he started a pursuing a new passion. Bringing his knowledge of footwear through retail to the table he started to make customized shoes for himself and then other clients. "I grew up in the skate community where it was natural to graffiti your clothes, boards, and shoes. I thought it would be a lot of fun to see my own art on shoes. I'm a shoe freak - you can ask my wife, it kills her - and I couldn't think of a better piece of wearable art than a pair of customized sneakers," Zen laughs. 

Zen says he reached the pinnacle of his customized sneaker venture in 2008 when he and a few friends attended the release of the Nike Bordeaux 7 Jordan in shoes the he had designed for himself and his friends. "I had studied the shoes before their release and I thought it would be neat to take the color scheme they used on the unreleased Jordans and adapt it to several pairs of Nike Air Max sneakers." People went crazy over the concept and Zen made a name for himself in the customized sneaker industry, getting several requests from professional athletes after that for their own customized sneakers.

After that, Zen says he felt like doing someone different, "Until then, I was still goofing around. I was very much a late bloomer and I realized at about 42 or 43 that it was time I traded in the sneakers for a pair of grown-up shoes." With that in mind, Zen started a men's shop with a couple of his friends, including his Greenwich Vintage partner Max, to create a men's brand that still allowed grown men to add a little excitement to their closets.

However, he didn't discover his calling until one very uncomfortable pair of Florsheim lace-up oxfords led him to the shop of a cobblesmith nearby. "I went to work one day in a new pair of Florsheim oxfords and by lunch time I was miserable. They were the most painful shoes I had ever owned, but I didn't know how to fix them." Zen had worked with shoes for years, customizing the upper, but he had never experimented with the soles until that day. Shoes in tow, Zen asked the cobbler if he had any secrets for fixing shoes with uncomfortably hard soles. The cobbler took him to the back room and showed him a black Vibram crepe sole and asked if he wanted to replace the stiff wooden sole with it. Zen studied under the cobbler, learning the proper way to replace and repair soles. With his newfound knowledge, Zen started making shoes for himself and his coworker Max, honing his new skills as a cobbler. Both he and Max saw the potential of the shoes on the market, catering to a man who wanted a mix of unique street style and classic menswear. Putting together a small investment of his own savings and Max's, Zen contacted Vibram about the option of buying their crepe soles in colors other than the standard white or black, but after learning that he couldn't buy the colors he desired, he bought the right to mold the existing soles and make his own.

Now Greenwich Vintage Co. is known for those self-poured and designed soles, ranging in color from blaze orange, turquoise, and camouflage. Taking custom orders from customers, Zen is able to transform any old, tired shoe into a one-of-a-kind piece of art for his clients. Zen has also worked with General Knot & Co. To start redesigning the uppers of his clients shoe. Using vintage and vintage inspired fabrics from Andrew Payne, Zen can cover the leather to give his customers footwear that they can personalize with vintage floral, plaid, and other textiles.

His latest ventures have allowed him to add a few new accessories to the postmodern American man's wardrobe. Partnering with Kent and Lee Begnaud and Nathan O' Malley of Leatherworks Minnesota, Zen created a signature pair of reversible leather braces for the Fall/Winter season featuring a camouflage design on one side. This is just the beginning of several collaborative efforts that Zen is working on to outfit his customers from head to toe. Zen says that, "Being able to partner with talented designers and artisans is allowing Greenwich Vintage Co. to let men dress like men." When men were men, that is the ideal that Zen pursues through Greenwich Vintage Co. each and every day. Like Ward Cleaver, Zen is teaching us the principles and life lessons concerning menswear that the American public has forgotten in the last 30 years. This isn't to say that he envisions a world without tshirts and jeans, in fact he wears them also, instead he sees a world where men can recapture that age old style of our forefathers of the early 20th century with a little added flair.

For more information about Zen and Greenwich Vintage Co. and to see their resole options, check out their website at www.greenwichvintage.us or follow them on Instagram—@grnwchvntgco.

Almond Lavender Cake

Heath Stiltner

Have you ever cooked with lavender? It’s a very unique scent and flavor. It can be used in many things like lemonade and ice cream... I’ve even seen lavender cupcakes! I like trying new things and before this cake I had never actually tasted something with lavender in it. 

It’s almost hard to describe because there’s nothing else like it. The lavender adds a slightly floral taste that you feel when you breathe in after biting into this cake. Same with the glaze, it adds the softest, sweetest floral taste that’s unexpected but very delicious. 

This cake is absolutely beautiful and makes for a perfect springtime dessert. Garnish the slices with some dried lavender for an extra splash of purple! You can use your own lavender if you grow it in your garden or look for dried lavender in spice shops. 

Almond Lavender Cake

1/4 cup half-and-half cream

2-1/2 cups all-purpose flour

1/2 teaspoon baking soda

1/2 teaspoon salt

4 teaspoons boiling water

3/4 cup confectioners' sugar

Additional dried lavender flowers, optional

2 cups sugar, divided

1/2 cup slivered almonds

1 tablespoon plus 1 teaspoon dried lavender flowers, divided

1 cup butter, softened

4 eggs

2 teaspoons vanilla extract

1 cup (8 ounces) sour cream

Grease a 10-in. fluted tube pan and sprinkle with sugar; set aside. Place 1/2 cup sugar, almonds and 1 tablespoon lavender in a food processor; cover and process until finely ground.

In a large bowl, cream butter and remaining sugar until light and fluffy; beat in almond mixture until combined. Add eggs, one at a time, beating well after each addition. Beat in vanilla.

In a small bowl, combine sour cream and half-and-half. Combine the flour, baking soda and salt; add to the creamed mixture alternately with sour cream mixture, beating well after each
addition.

Pour into prepared pan. Bake at 350° for 55-60 minutes or until a toothpick inserted near the center comes out clean. Cool for 10 minutes before removing from pan to a wire rack to cool completely.

For drizzle, in a small bowl, combine water and remaining lavender. Cover and steep for 5 minutes. Strain, discarding lavender. In another small bowl, combine confectioners' sugar and enough infused water to achieve desired consistency; drizzle over cake. Garnish with additional lavender if desired. Yield: 12 servings.


Almond Lavender Cake photography, styling, and recipe by Rikki Snyder. Find more from Rikki on her website and on Instagram—@RikkiSnyder.